Viewing entries tagged
recipe

Recipe: Homemade Nut Butter

Recipe: Homemade Nut Butter

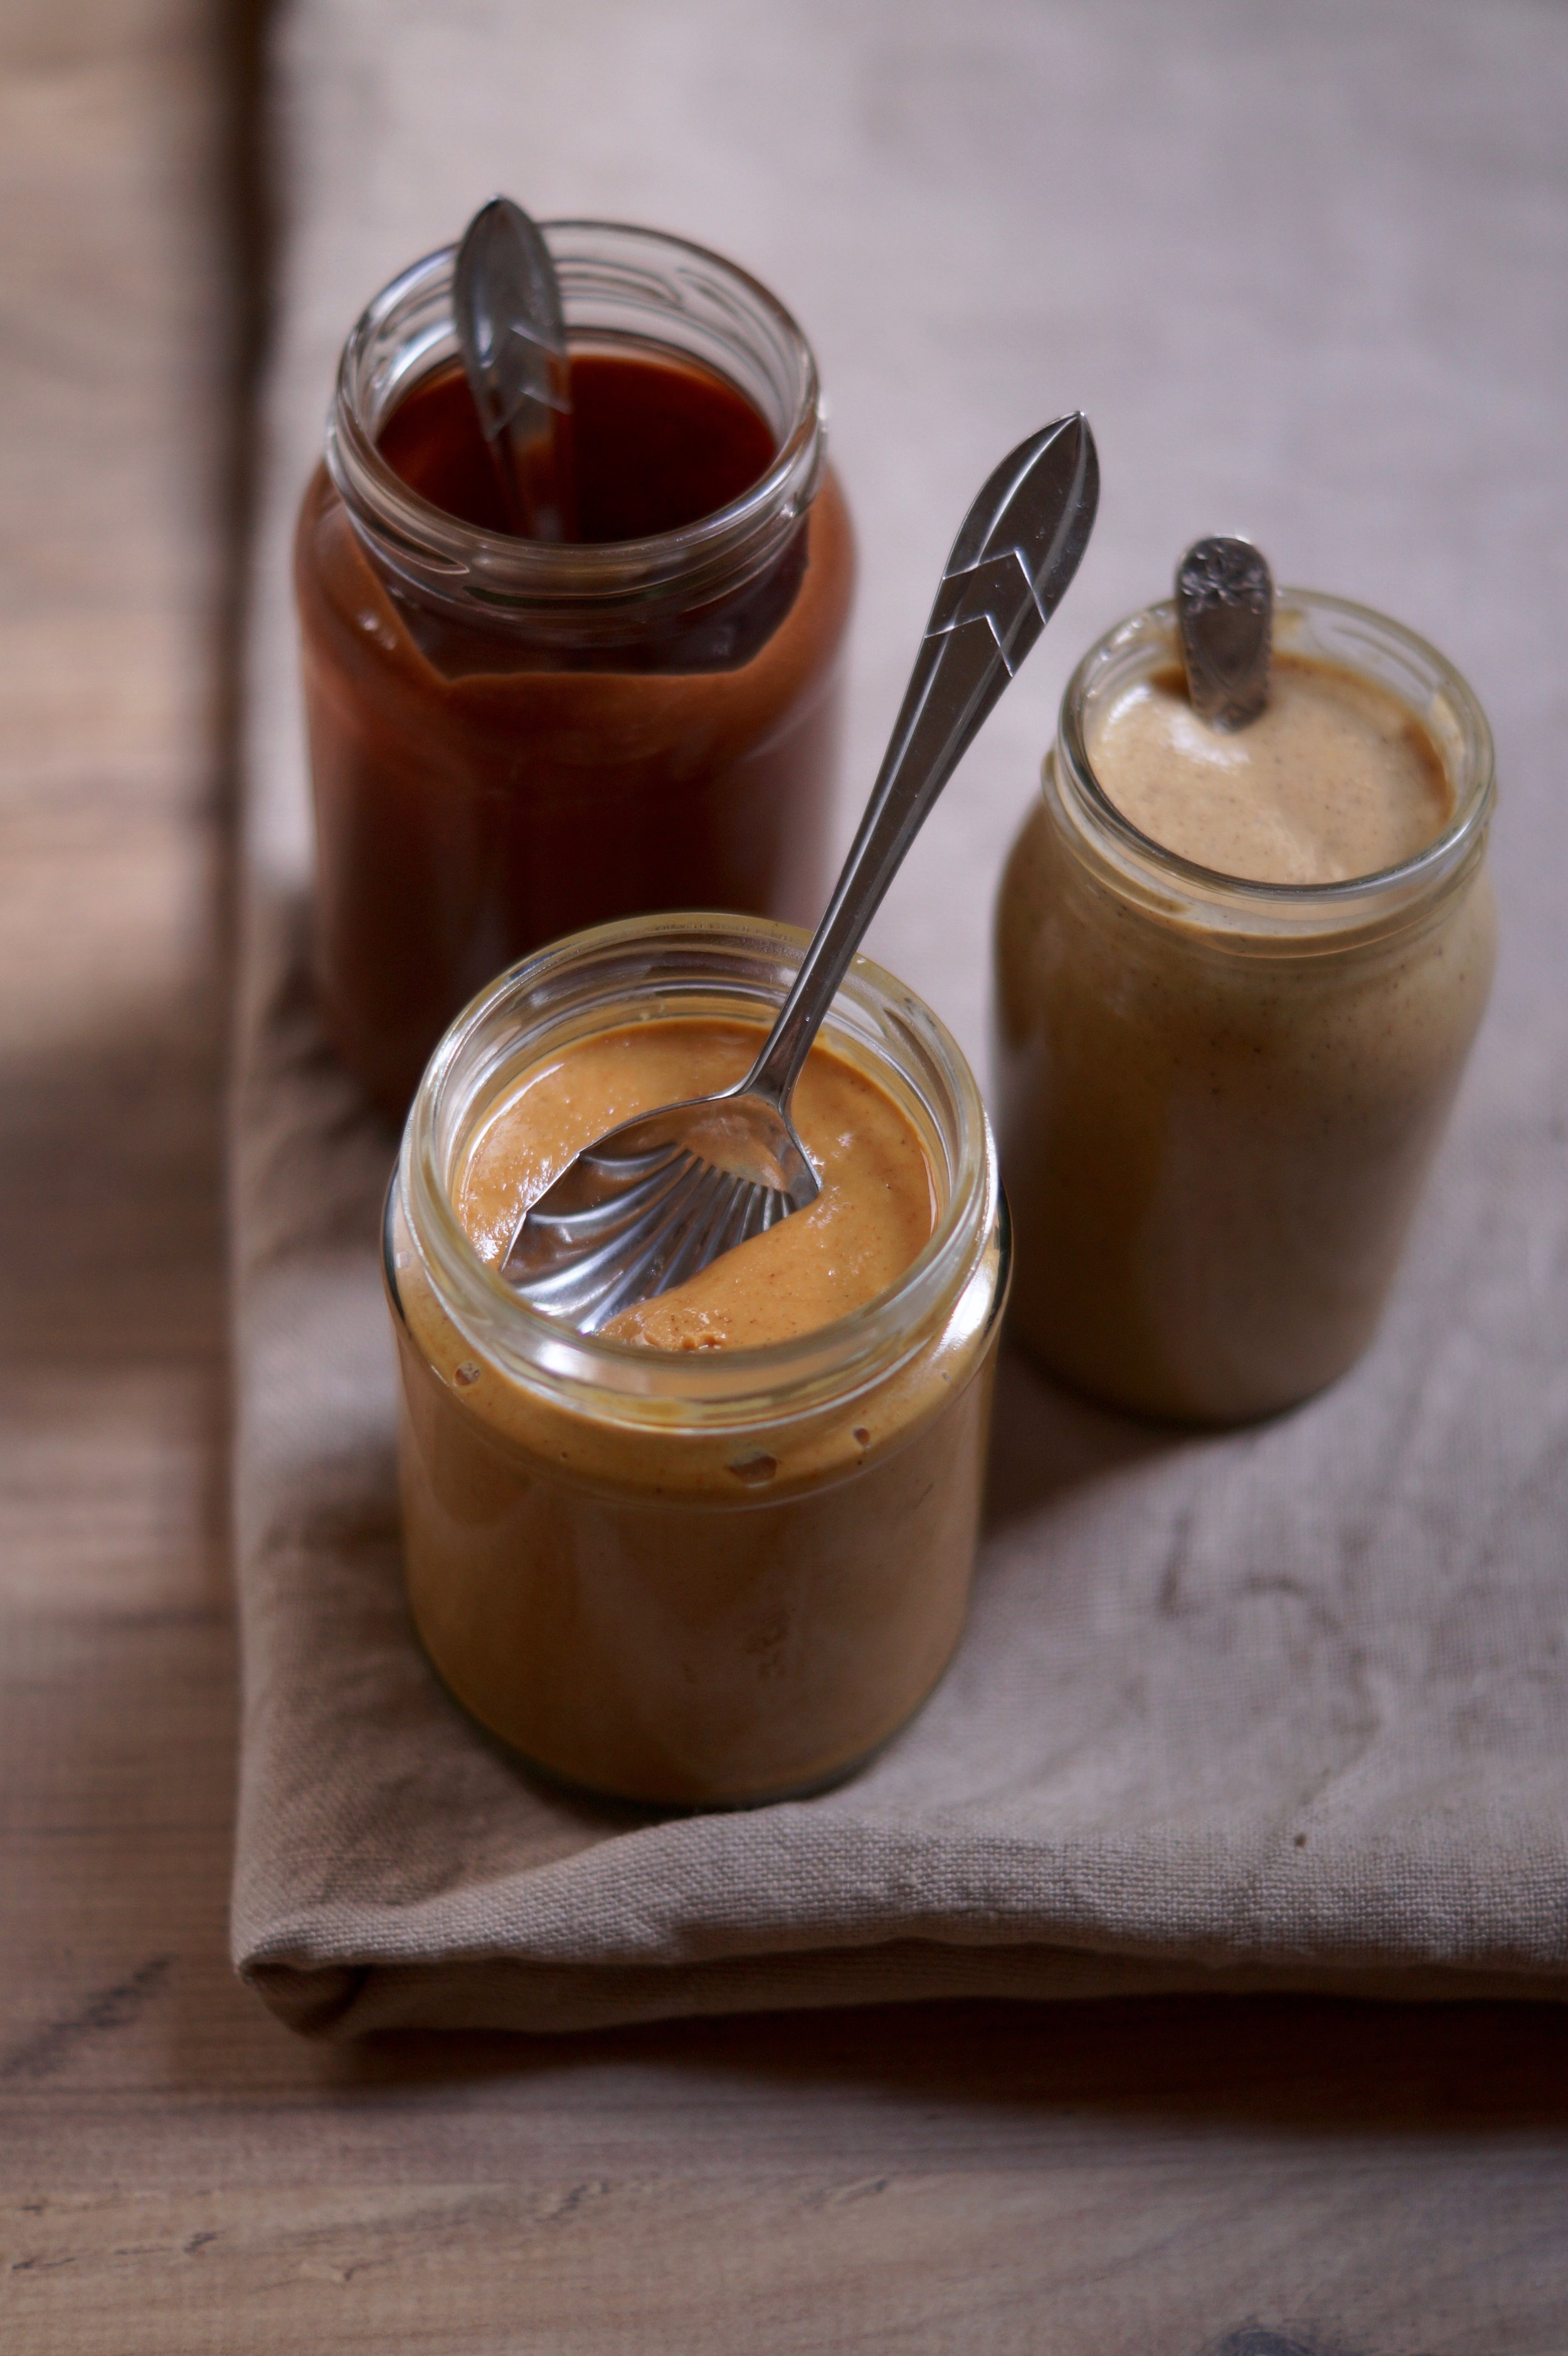
I know I'm late to the party here, but in recent months nut butters have become something of a staple in our house. Not only do they make a good quick snack with an apple they are great for adding to satay sauces and soups, liberally spreading on toast for breakfast and I also use them extensively in my baking.

I know that there are some amazing brands of nut butters available (and some less so, I'm looking at you Nutella!) So why bother to make your own I hear you ask?

Well, nut butters are in fact incredibly easy and quick to make in the comfort of your own home, provided you have a food processor or equivalent bit of kit, there are just one or two ingredients in the recipe and you can use any nut or seed and create any flavour you like. It would be rude not to list the virtuous qualities qualities of homemade nut butters also... vegan, gluten free and filled with healthy natural oils, proteins and nutrients.

Here follows a few of my basic recipes which are still in progress. I have many more ideas I'd like to try out, but wanted to bookmark the bare bones recipe for future reference.

For those on a budget, I recommend buying nuts from Lidl as they provide the best quality and value for money. If you're Leicester based you can also try The International Supermarket. When sourcing your nuts look for blanched ones rather than skin on nuts - taking the skins of isn't impossible, it's just a real bore!

Each recipe will make one jar of nut butter.

basic nut butter

Ingredients...

  • 300g nuts- blanched hazelnuts, almonds, cashew, brazil... any nuts will work
  • a good pinch of salt

Method...

Preheat your oven to 180°C/160°C/Gas mark 4.

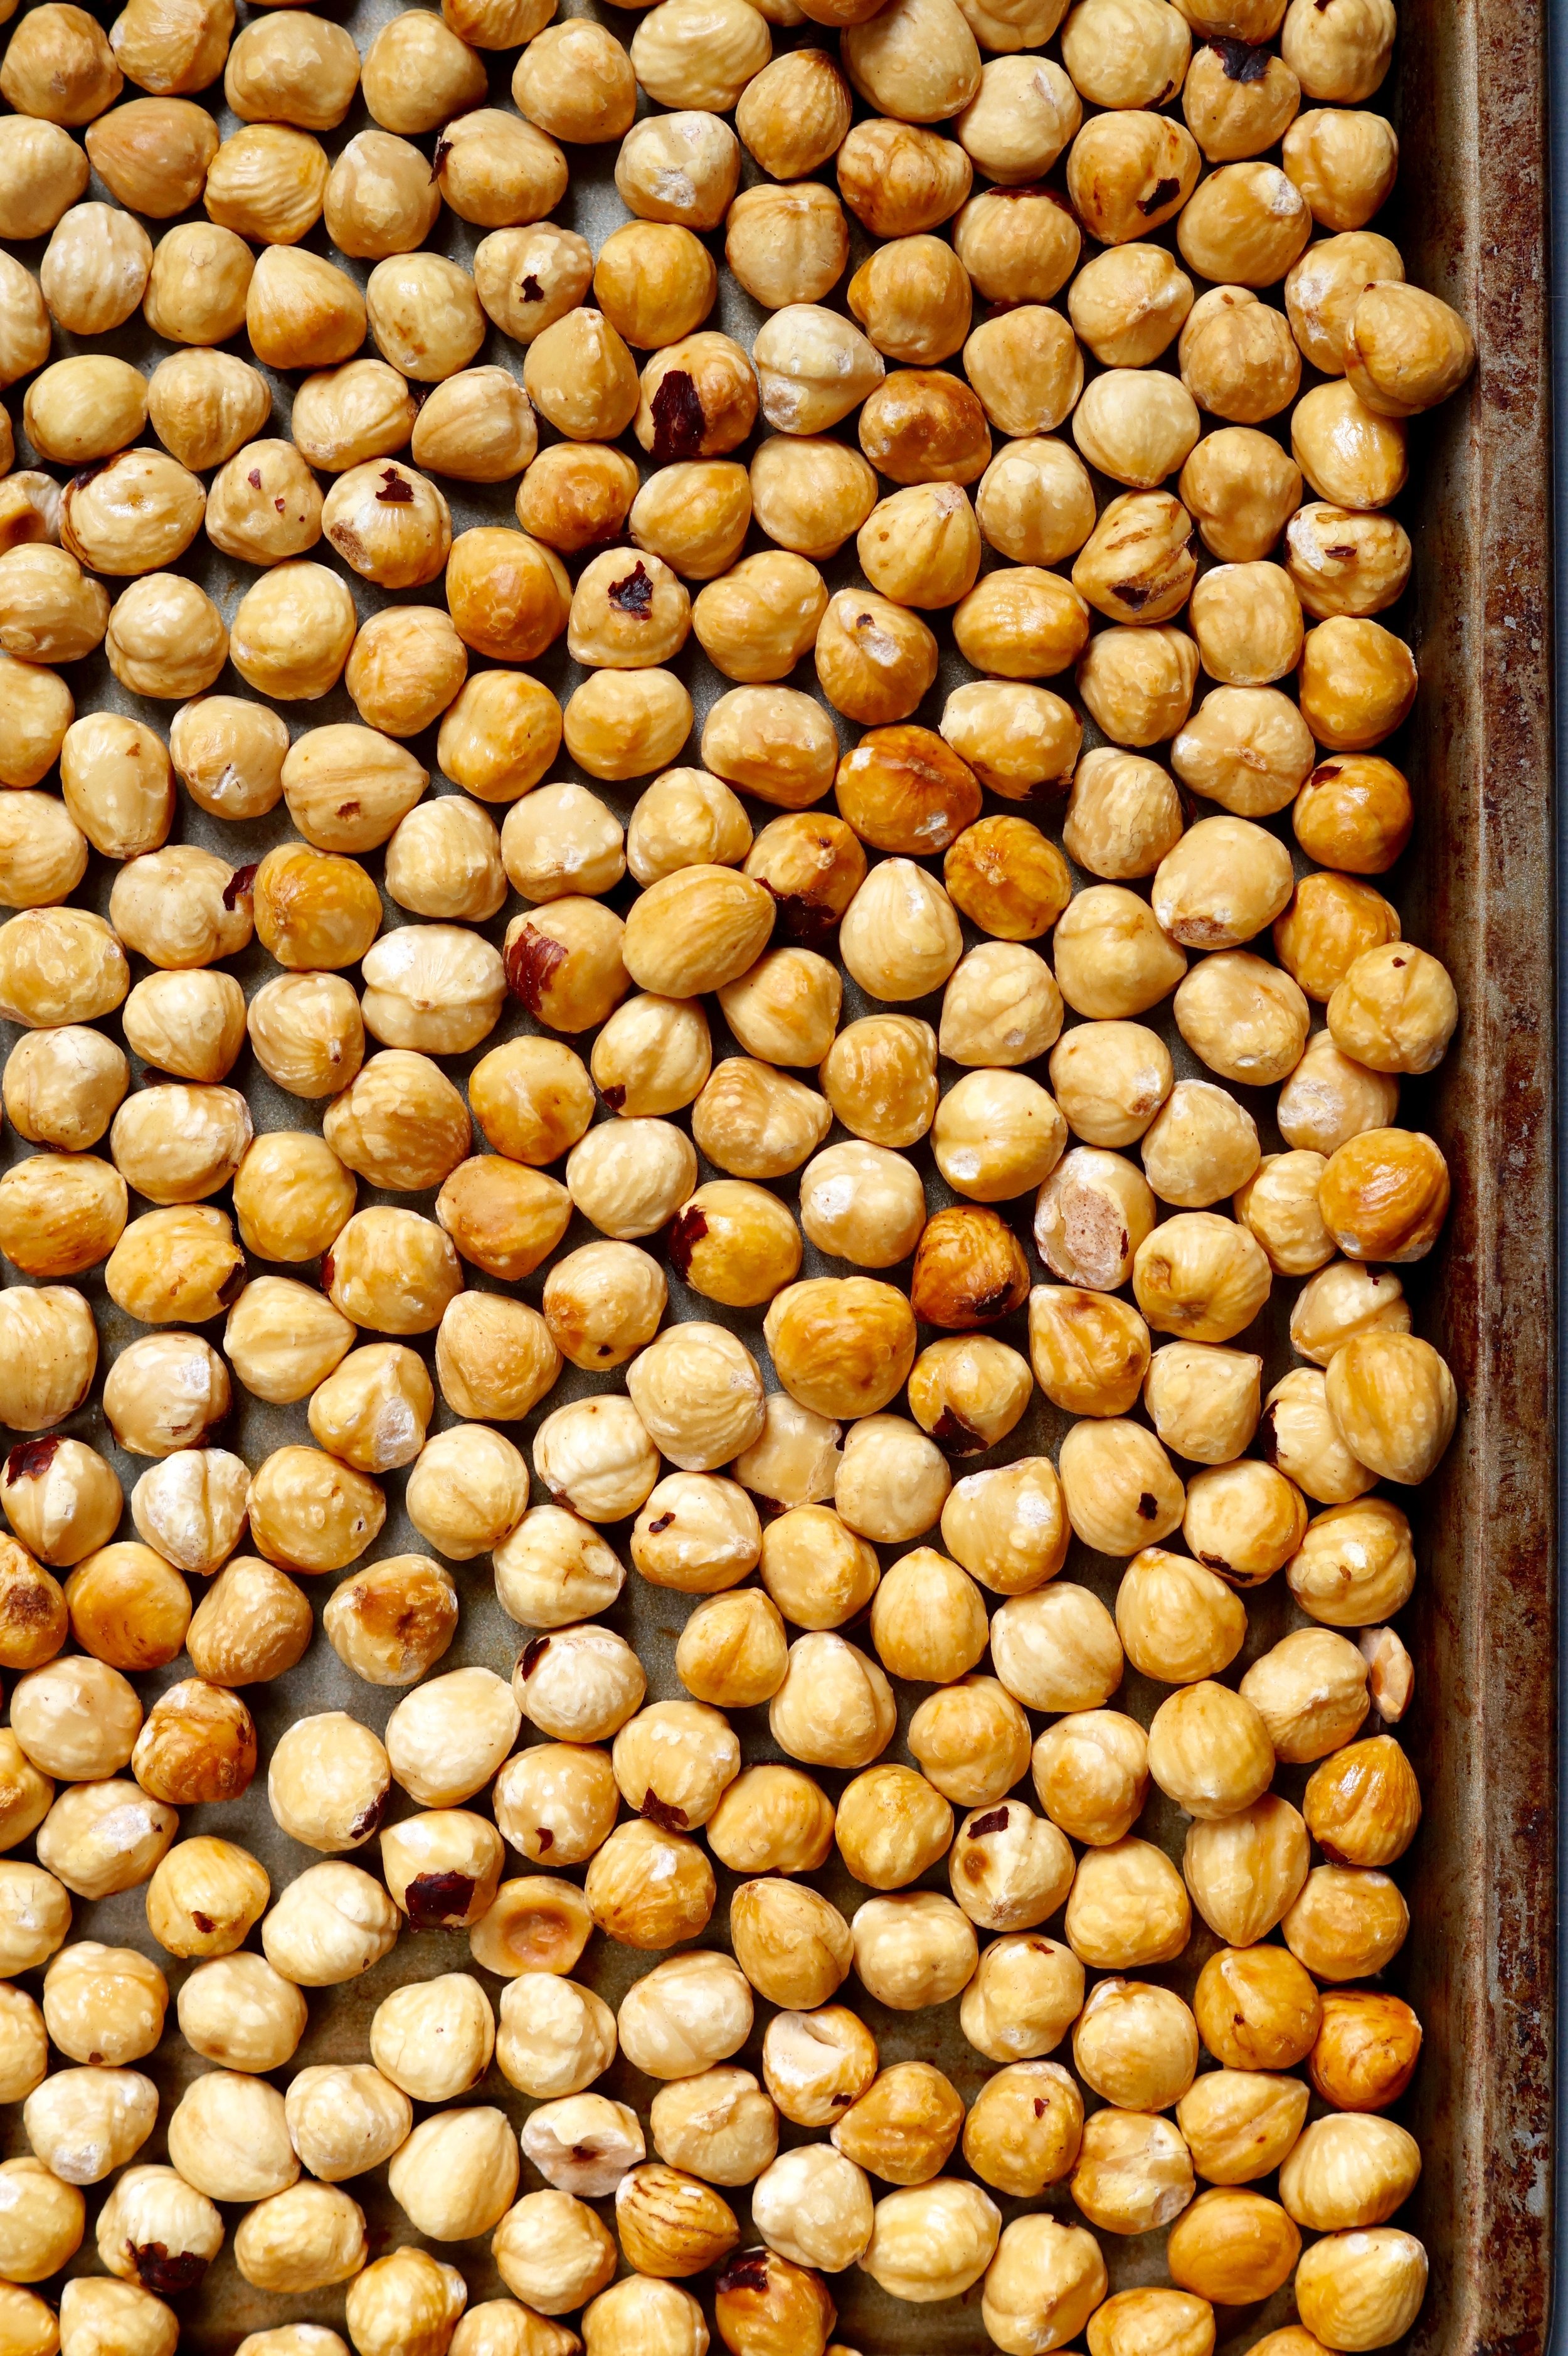
Line a baking tray with parchment paper and spread over the nuts in a single layer. Roast the nuts for 10 to 15 minutes, until golden brown. Remove from the oven and allow to cool.

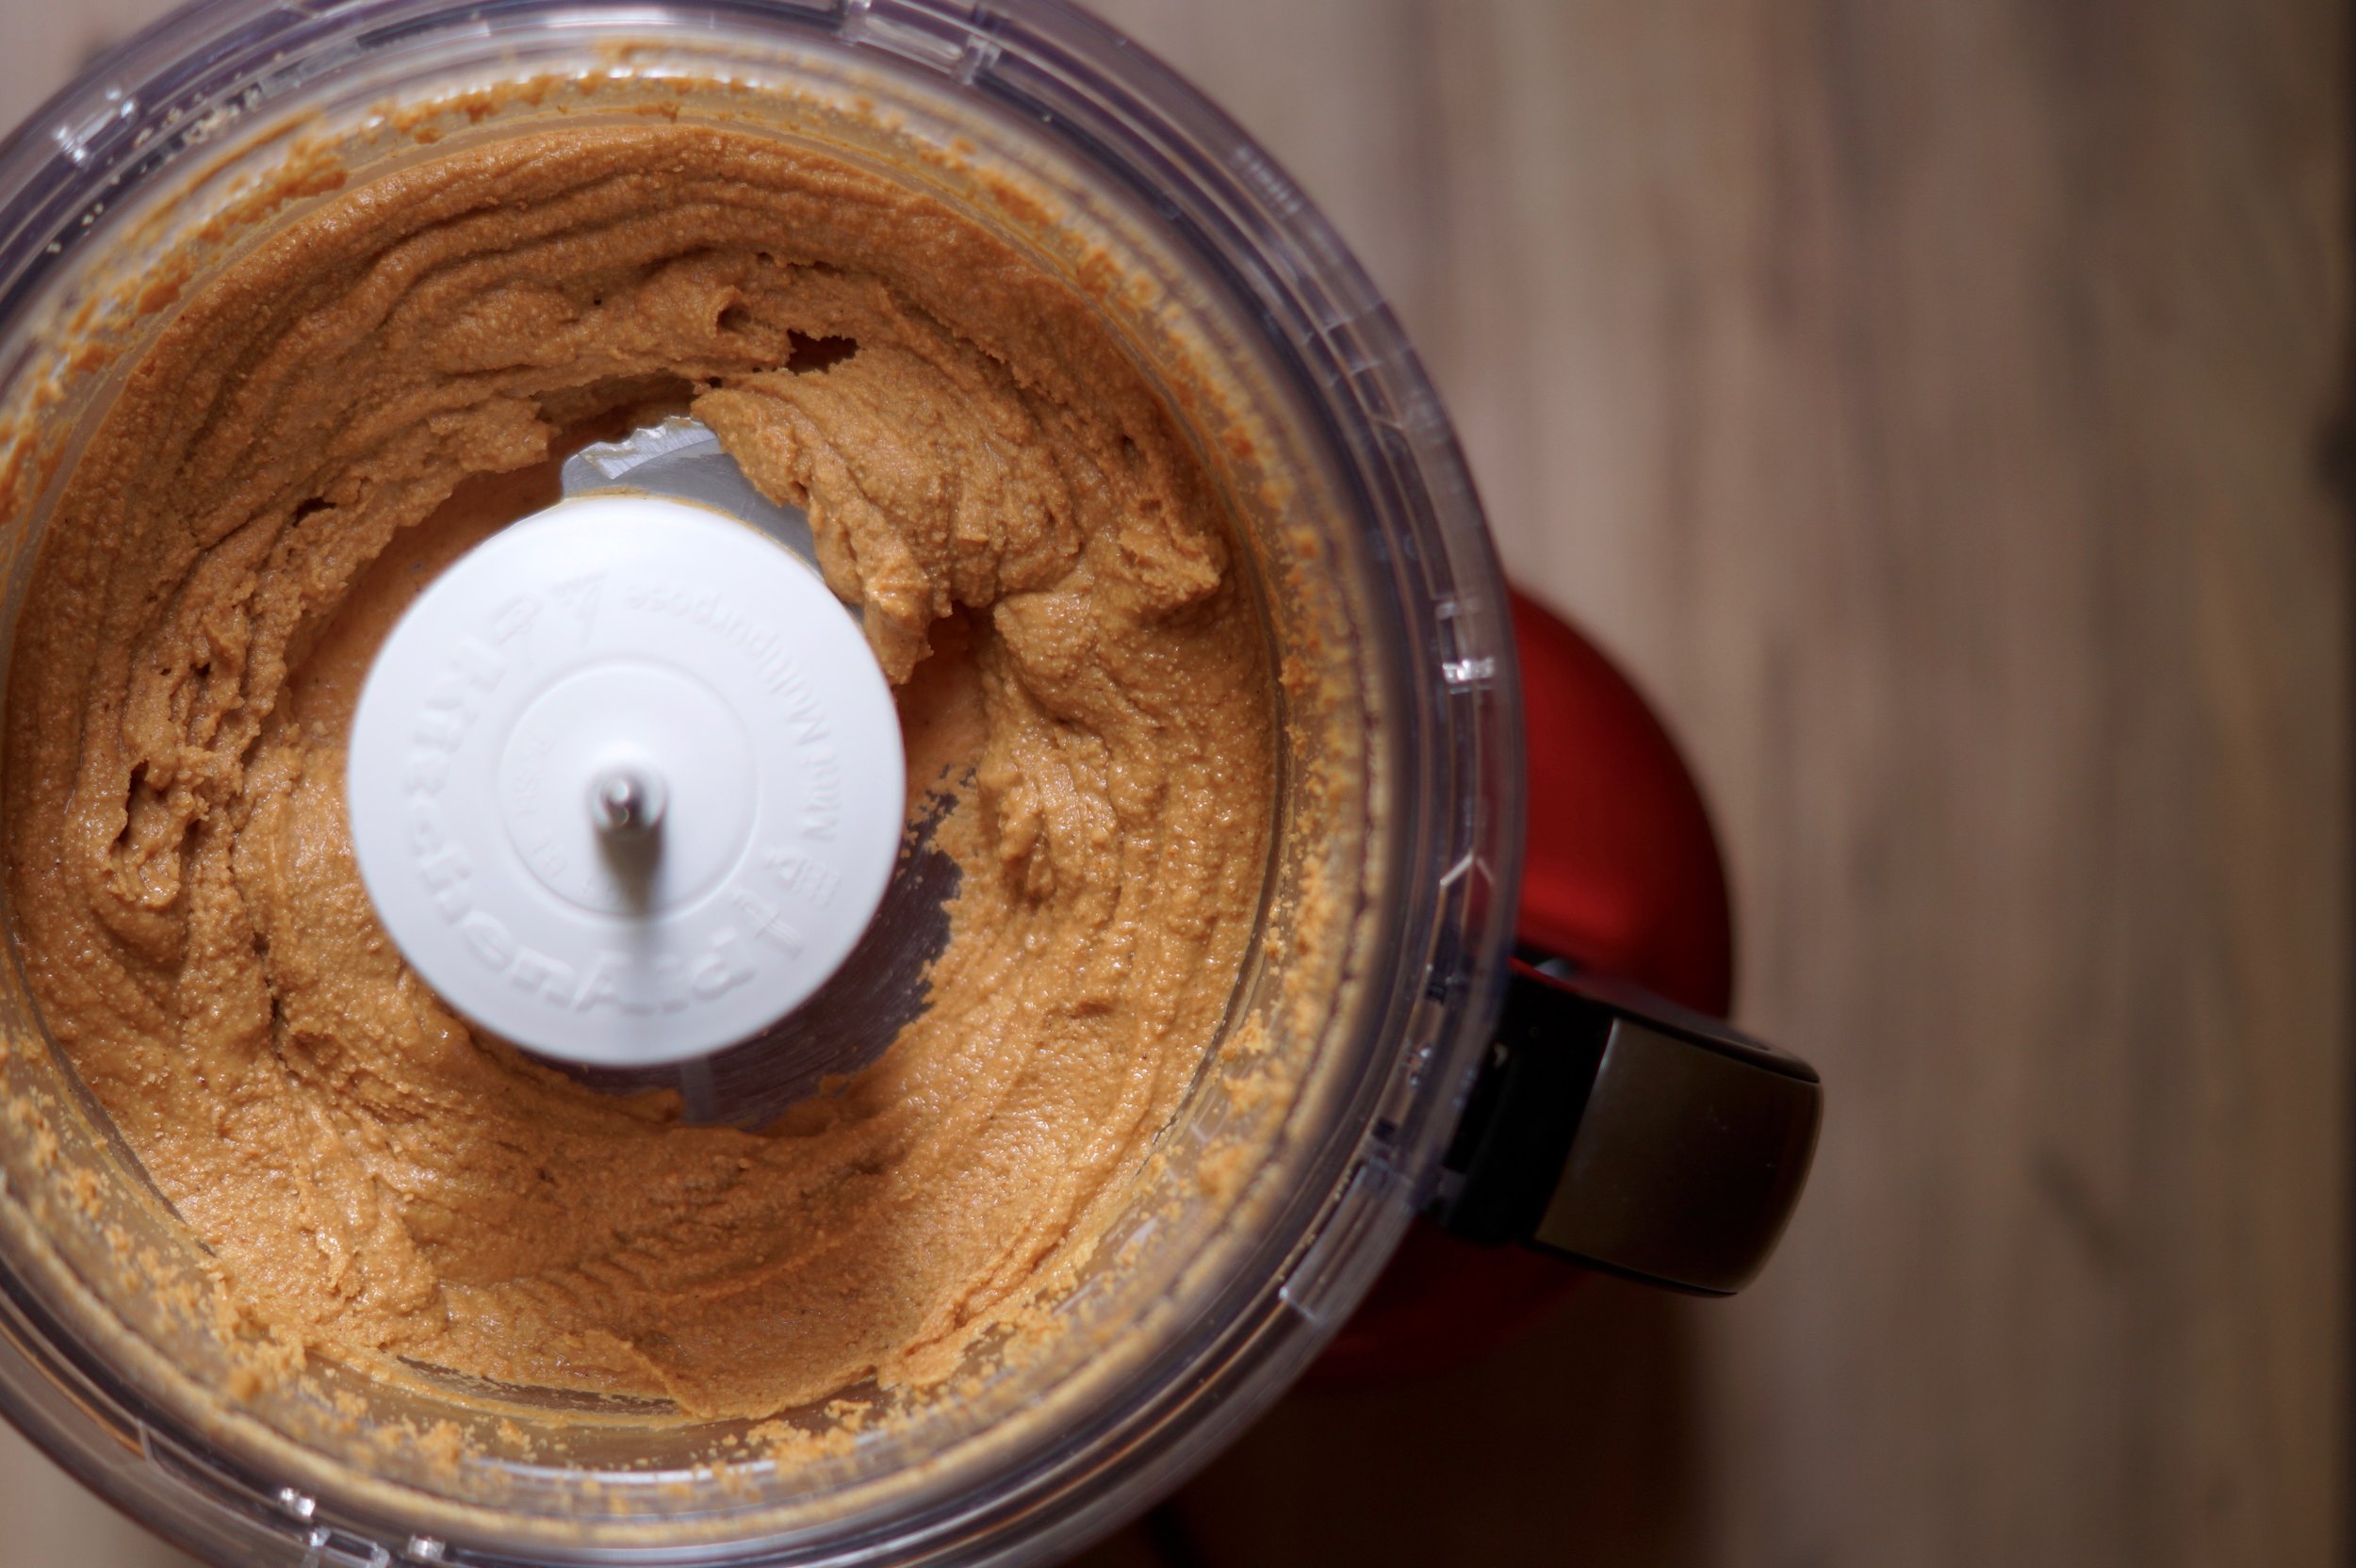
Place the Nuts into the bowl of a food processor, along with a good pinch of salt. Blitz the nuts until they form crumbs, scrape down the sides of the bowl and blitz again until the nuts have completely broken down to form a smooth creamy paste. This can take around 5 minutes, depending on the power of your food processor.

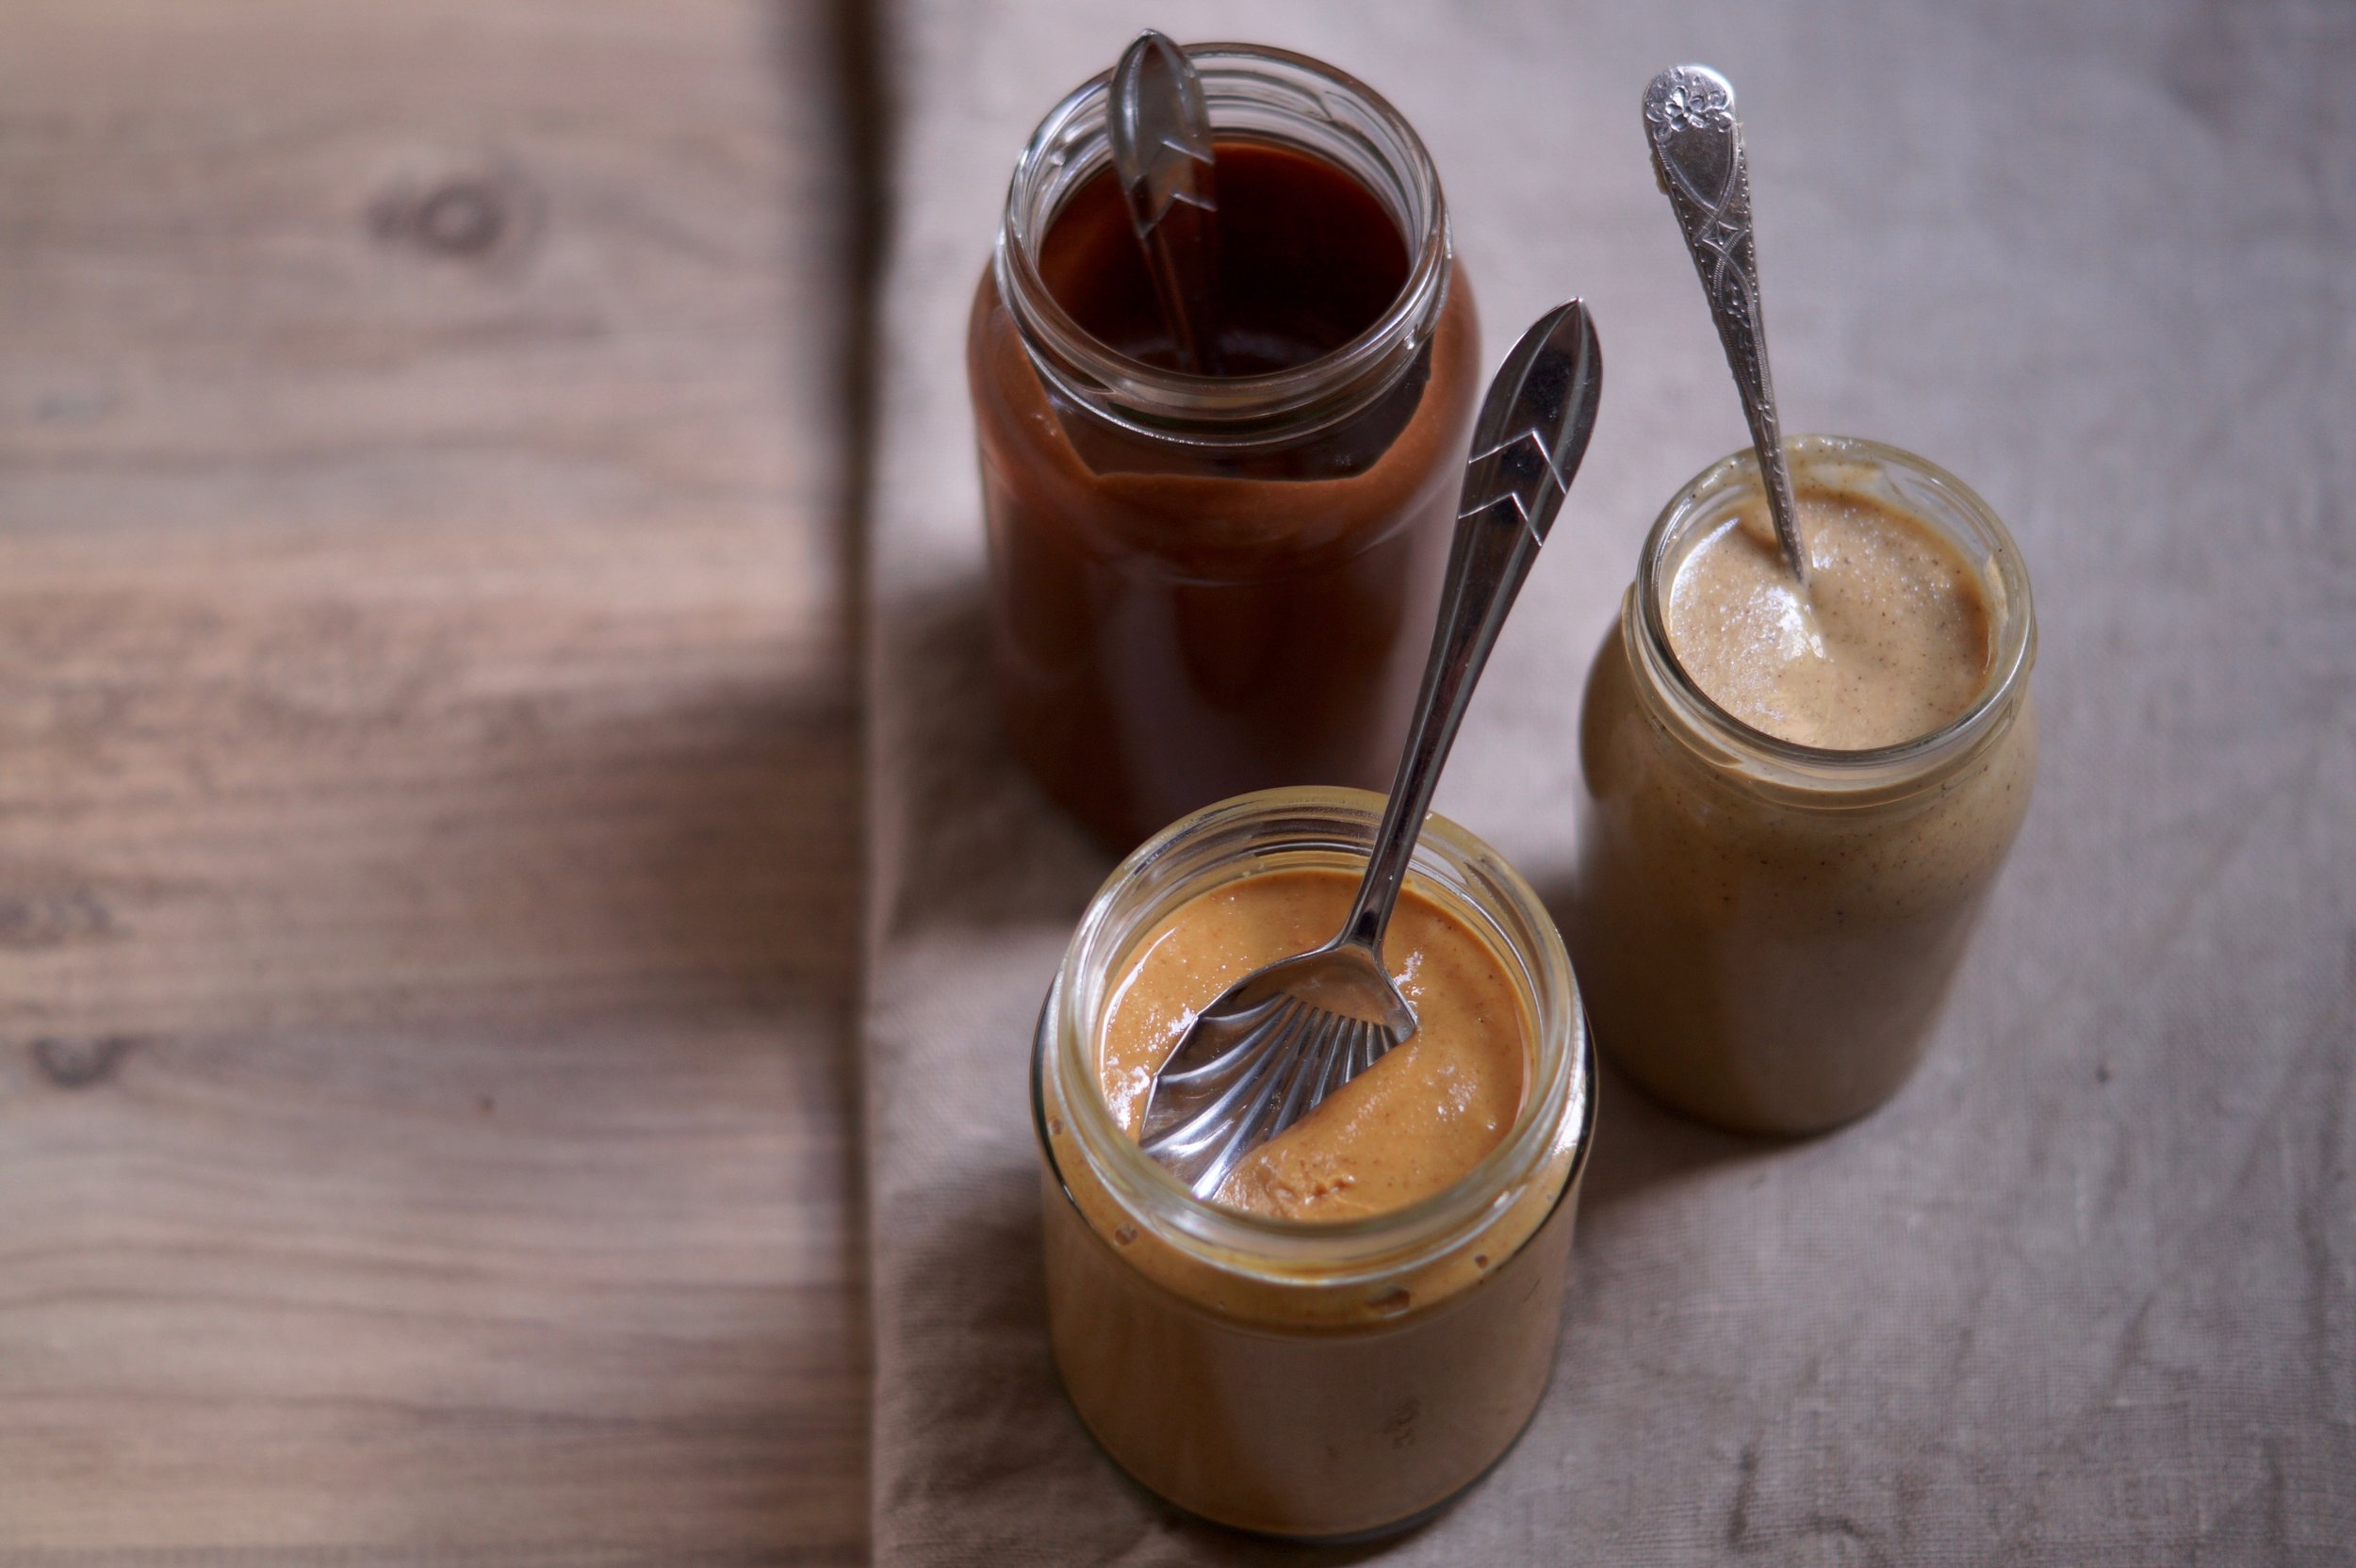
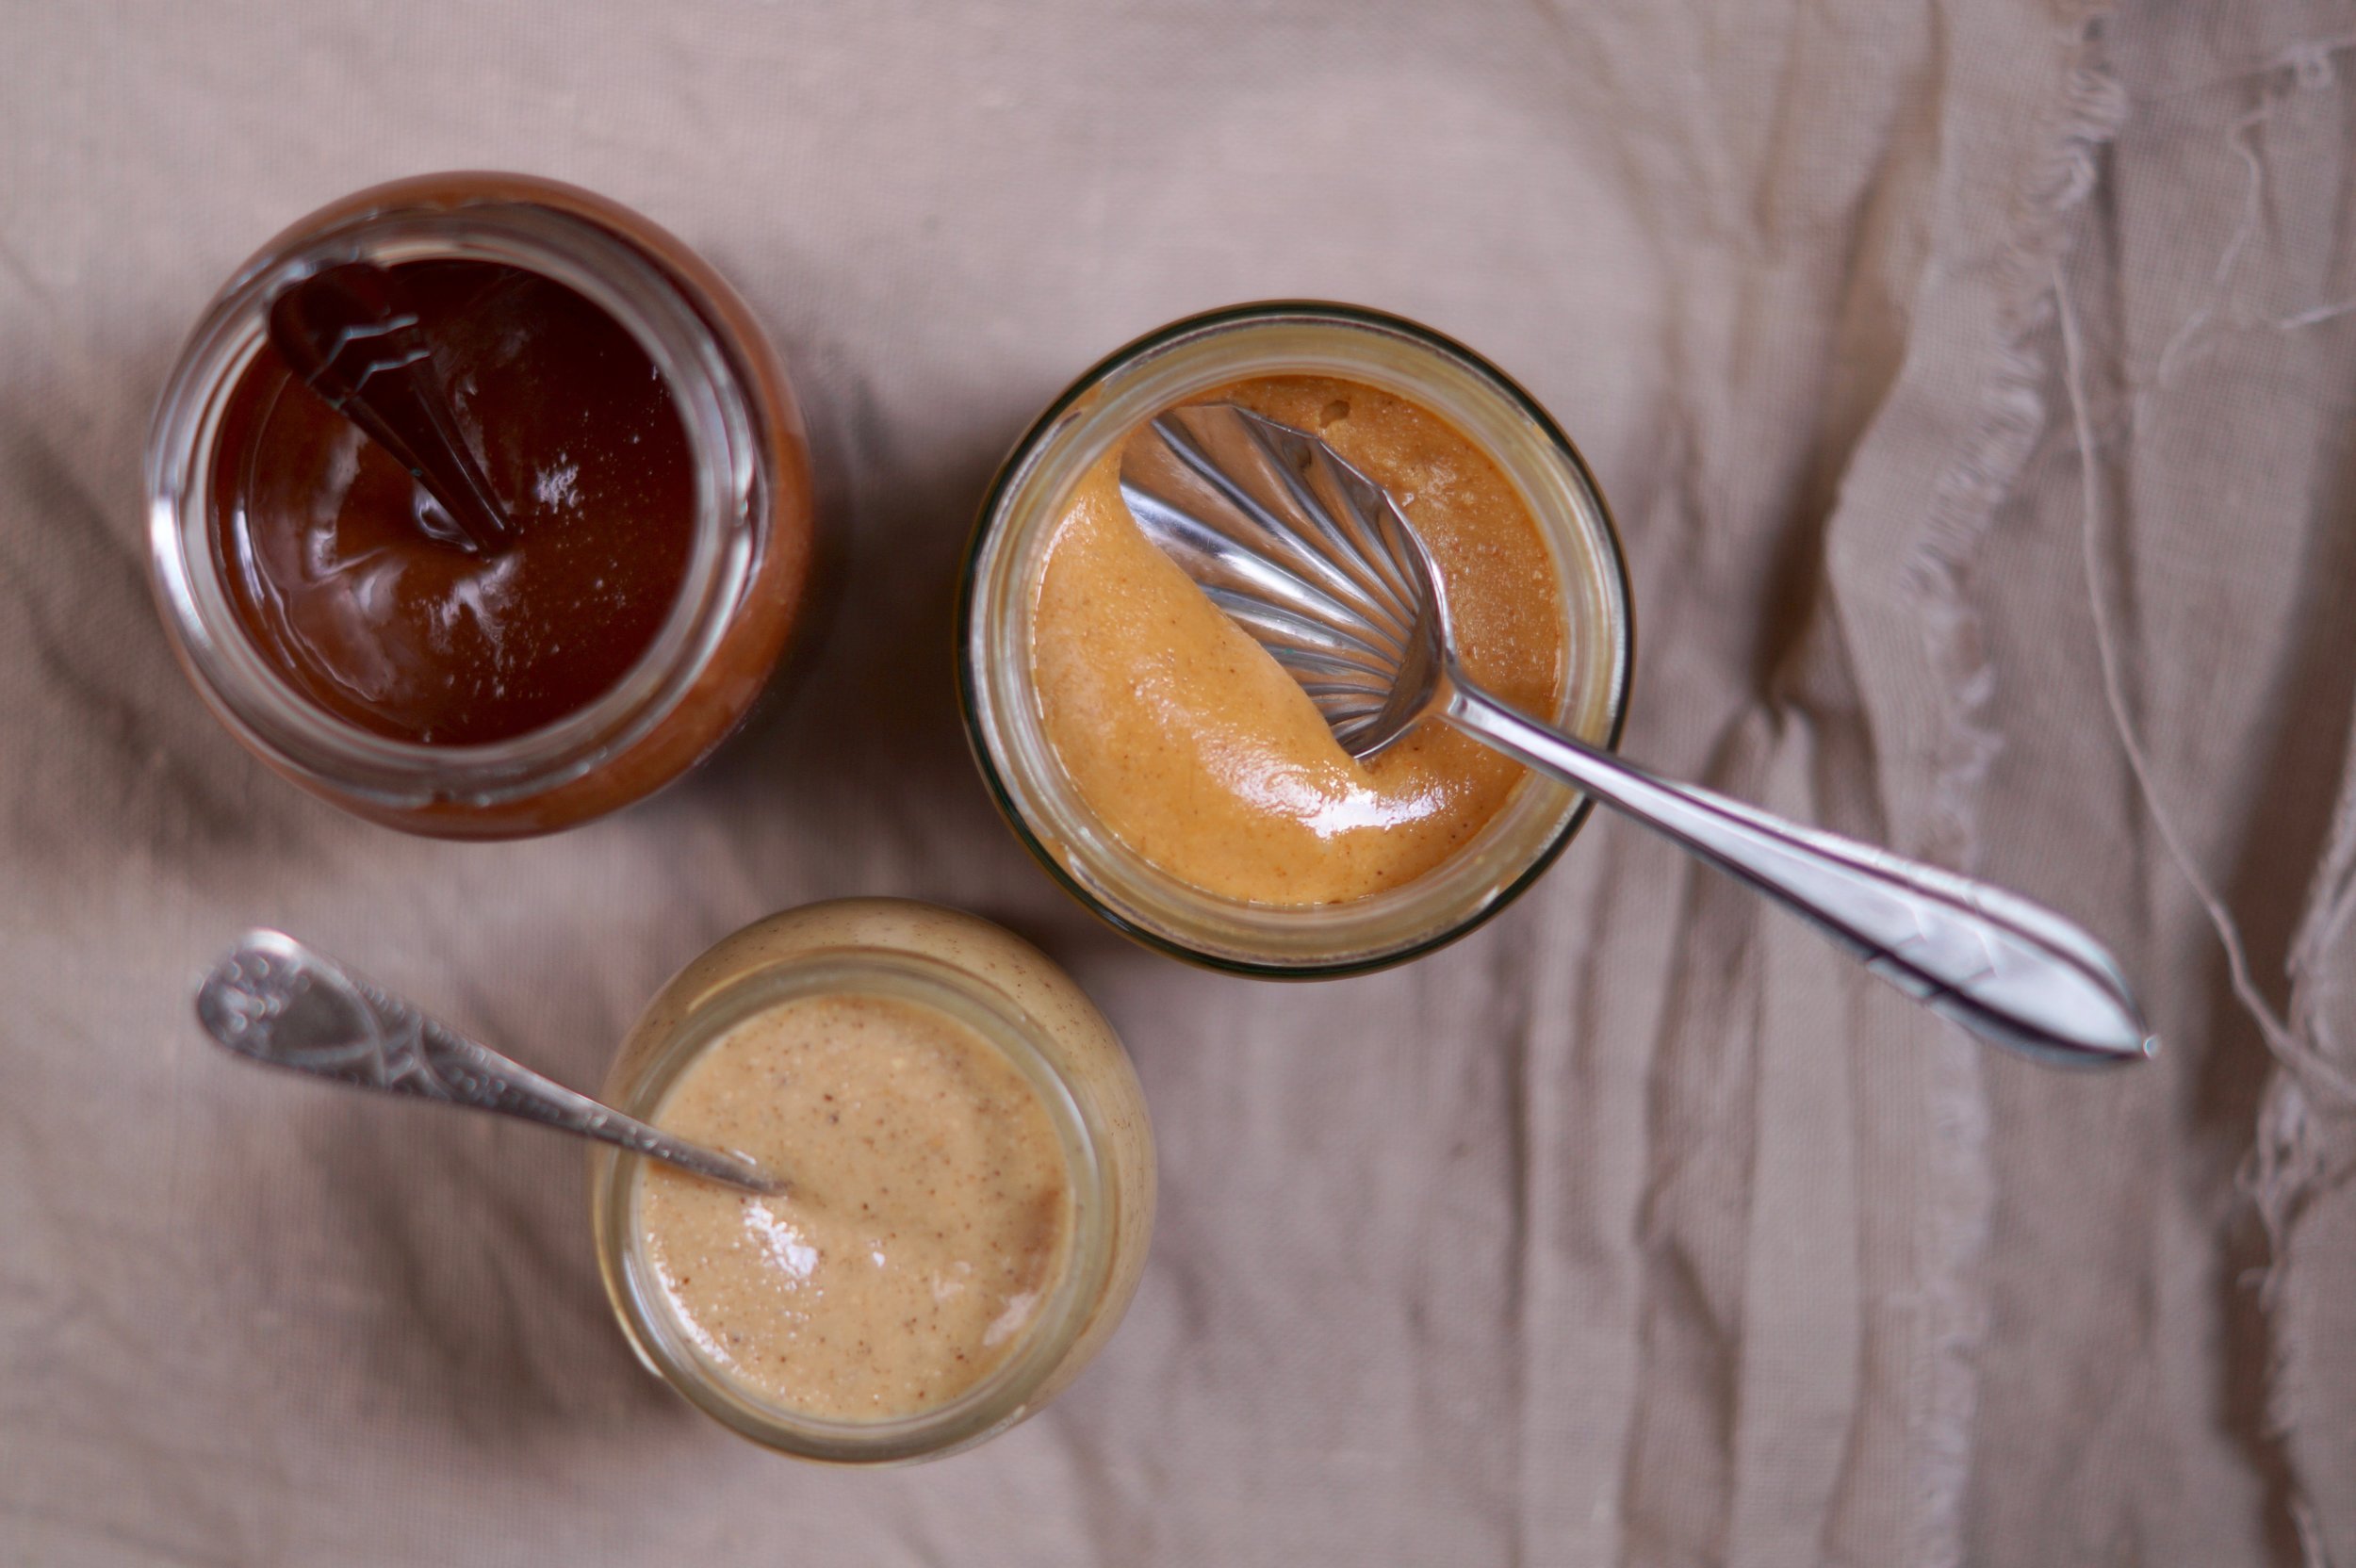
Transfer the Nut Butter to a clean, sterilised jam jar and store for up to two weeks.

peanut butter

Ingredients...

  • 300g  dry roasted peanuts

Method...

1 ingredient, that's it! No need to roast these nuts either as that's already been done for you. Just blitz them down following the above method ↑

homemade "Nutella"

Ingredients...

  • 150g blanched hazelnuts 
  • 100g dark chocolate
  • A good pinch of salt

Method...

Preheat your oven to 180°C/160°C/Gas mark 4.

Line a baking tray with parchment paper and spread over the nuts in a single layer. Roast the nuts for 10 to 15 minutes, until golden brown. Remove from the oven and allow to cool.

Meanwhile, break the chocolate into pieces and place over a pan of simmering water to melt.

Place the nuts into the bowl of a food processor, along with a good pinch of salt. Blitz the nuts until they form crumbs, scrape down the sides of the bowl and blitz again until the nuts have completely broken down to form a smooth creamy paste. Add in the melted chocolate and blitz for a further 30 seconds until well combined.

Transfer the nut butter to a clean, sterilised jam jar and store for up to two weeks.

MORE IDEAS & tips

More ideas to try...

  • There's huge scope for creativity here, use a mixture of nuts to create different flavours
  • Try adding almonds or peanuts to your 'Nutella'
  • For a sweeter butter add a little maple syrup or honey in the final stages of blitzing
  • Vanilla is a lovely addition to 'Nutella' also
  • For a nut free option try using seeds, sunflower, pumpkin, sesame, or a mixture of all three
  • For a savoury butter try adding spices and dry herbs. One idea I'm dying to try is dukkah butter!!

A few further thoughts...

  • Much depends on the power of your food processor, I've just acquired a new one (hence the nut butter excitement!) It's so powerful I don't even need to melt the chocolate for my "Nutella", I just whack it straight in and the mixer breaks it down. However my previous bit of kit could barely make breadcrumbs, let alone nut butter! So for cautionary reason's I've included the melting-the-chocolate step in the recipe above. With a less powerful mixer you can expect a crunchier butter, which is all the better in my book!
  • Different nuts create different results, for example peanuts and almonds deliver a more viscose butter than brazil nuts, which have a higher natural oil content. Equally, adding a sweetener such as honey or maple syrup will thicken a nut butter.
  • As always, do give us a shout if you try this recipe or if you have any brilliant ideas for nut butter flavours!

Recipe: Blood Orange & Rosemary Mocktail

Recipe: Blood Orange & Rosemary Mocktail

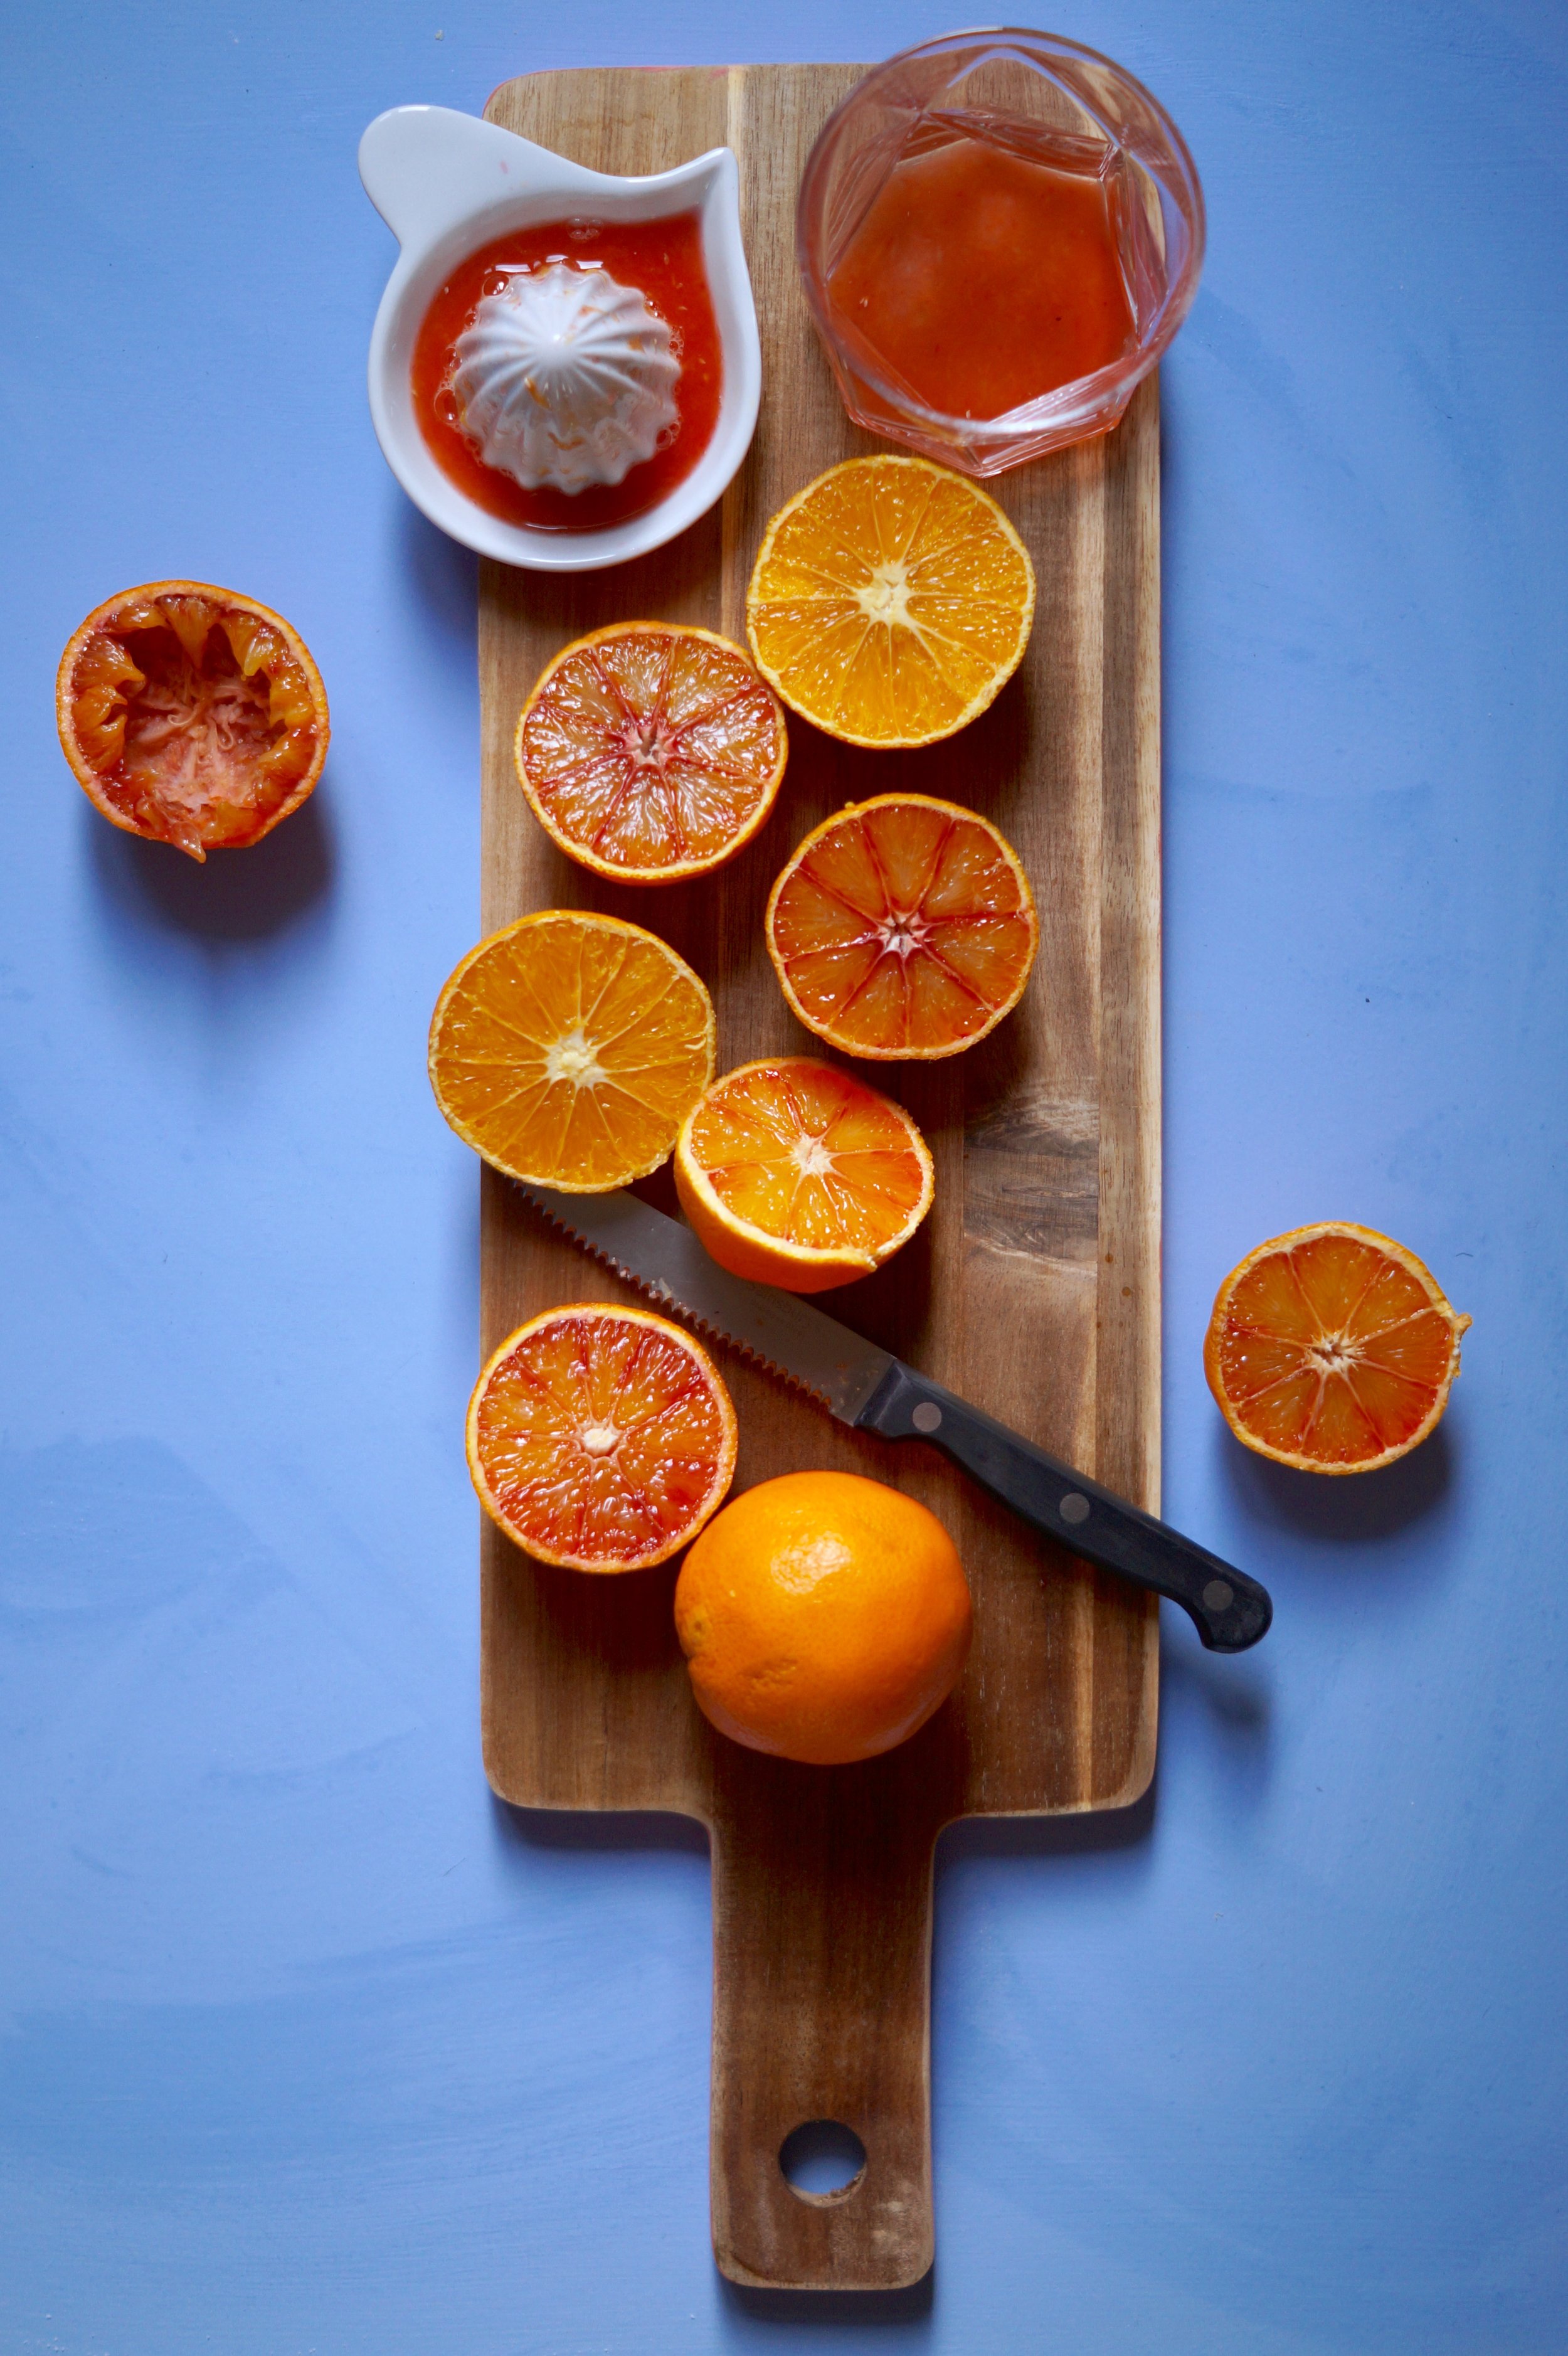
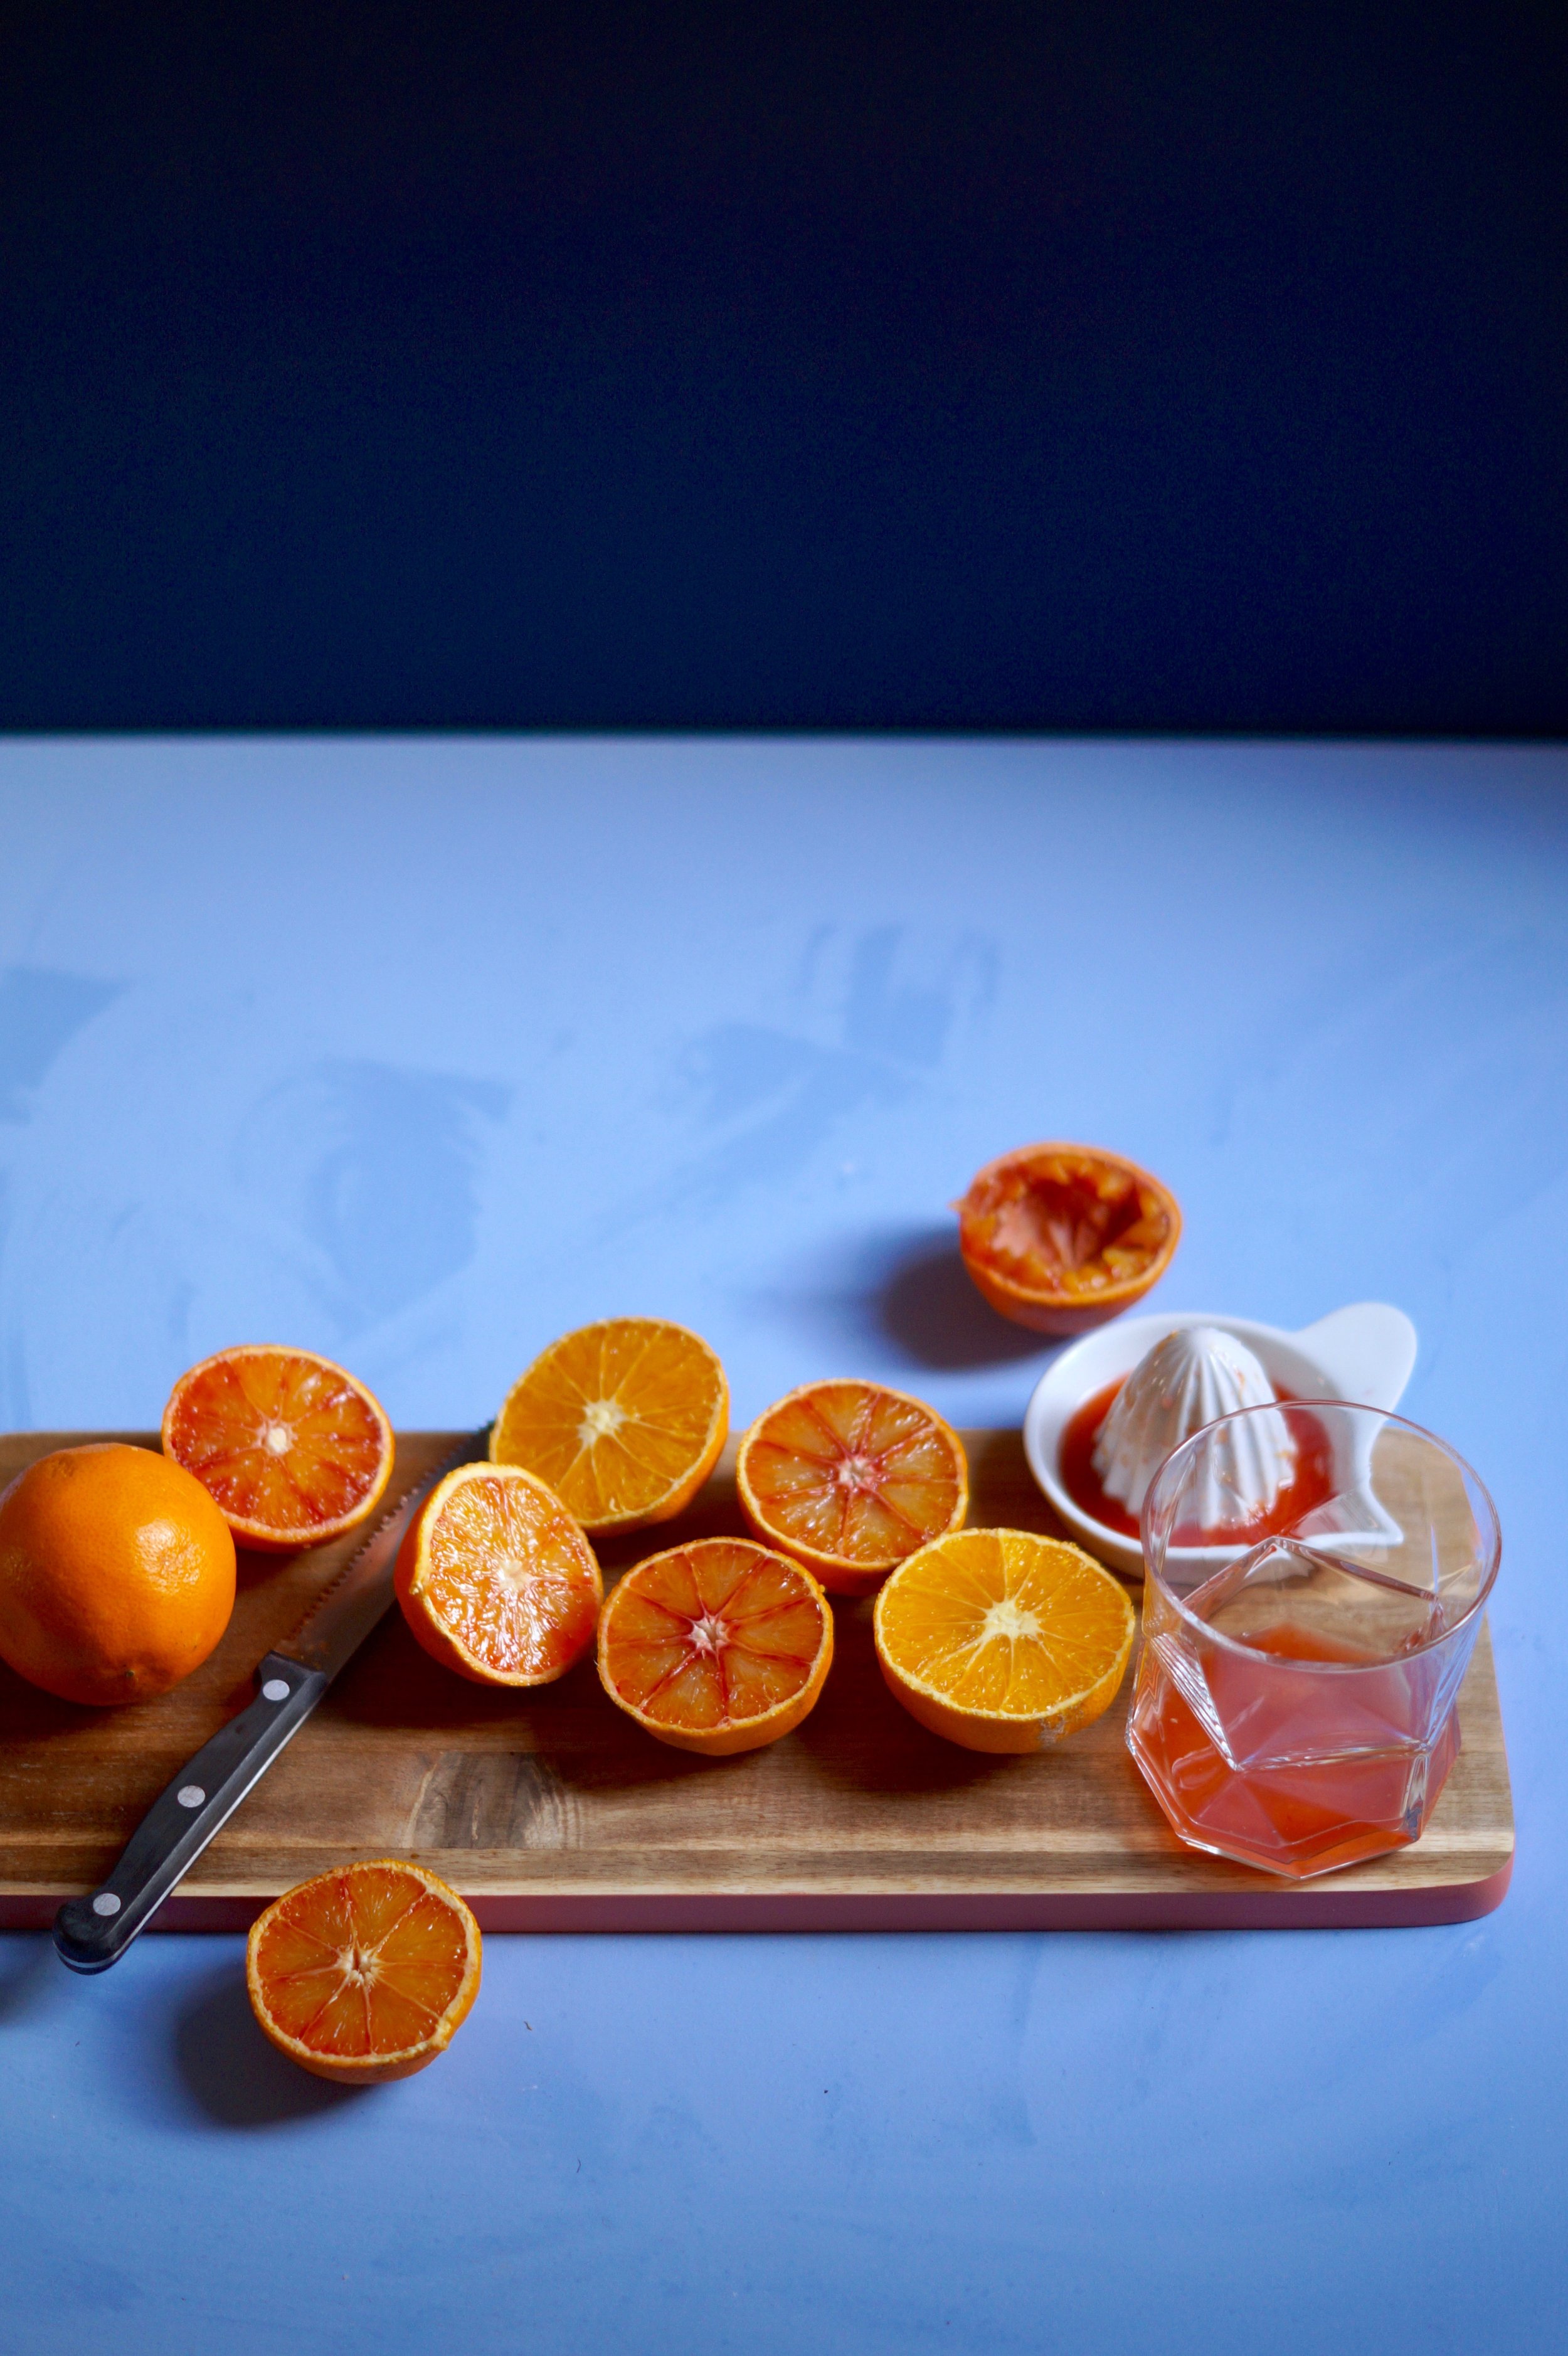
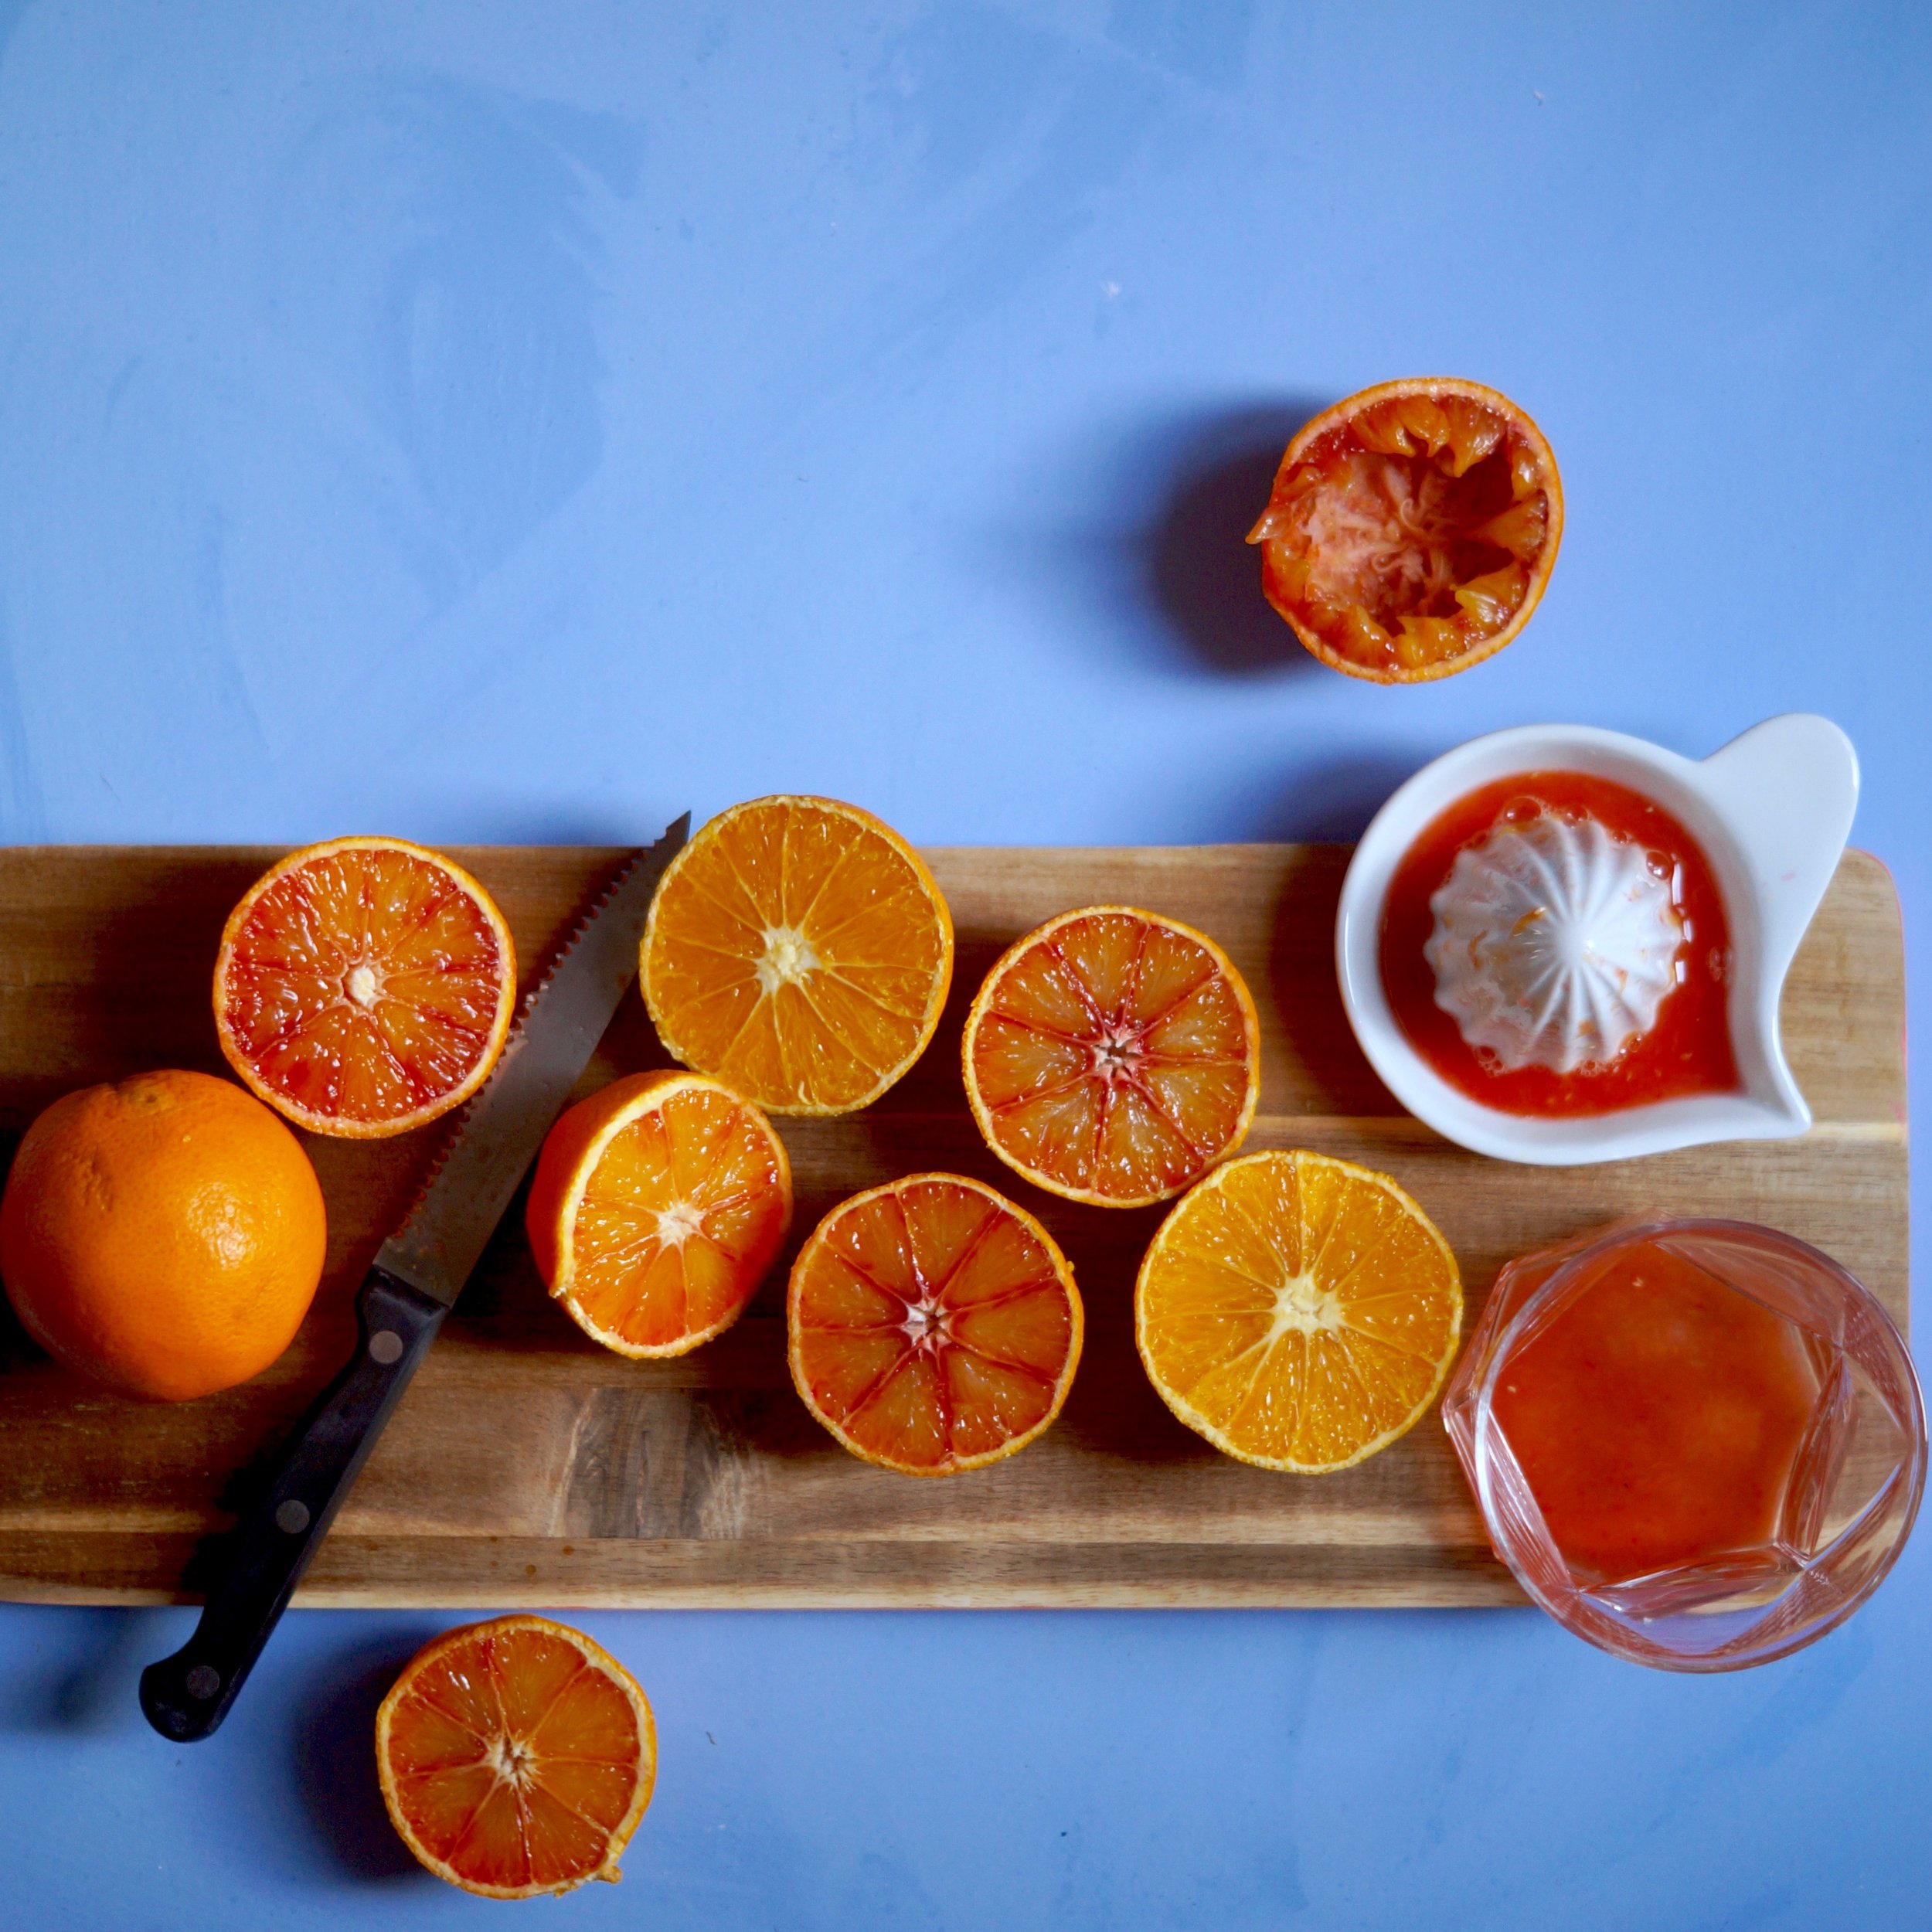
I'm noticing signs of Spring this week. Only small ones but they're there none the less. Daffodils are shooting, my Hellebore is blooming and Yorkshire rhubarb abounds. With all this longing for Spring I feel at risk of wishing away Winter, though February may be cold it's not without it's own seasonal joys. This leads me to the blood orange, quite possibly my favourite Winter fruit, an injection of sunshine in the darker months and whose short season is imminently coming to an end. It would be rude not to mark it's happening this year without a mention in a recipe.

As with the majority of our recipes, I had weekend brunch in mind, though any time of day would be fitting. For a weekend treat you could always add a little gin too, if needed!

I've kept it simple and light with a honey syrup rather than sugar. Honey adds sweetness whilst rosemary adds a subtle aromatic. You won't need all the honey, I highly recommend trying what's leftover on toast for breakfast or in any other way you would usually use your honey as it's really delicious. The following recipe serves two.

You will need:

  • 200g honey
  • 200g water
  • 4 sprigs rosemary
  • 250 ml freshly squeezed blood orange juice (This is around 5-6 oranges)
  • soda water

To make the honey syrup place the honey and water in a pan along with two of the rosemary sprigs. Bring to the boil and simmer for 20 minutes until reduced. Discard the rosemary and set aside to cool.

Place the blood orange juice into a measuring jug, add two tablespoons of the honey syrup and whisk to combine. 

Divide the juice between two tumblers along with a few ice cubes. Top up each glass with a little soda water and garnish with the remaining rosemary sprigs.


Recipe: Spiced salted pecans & Stories of festive happenings

Recipe: Spiced salted pecans & Stories of festive happenings

I really don't know how Christmas managed to sneak up on me unawares again, but here we are with just a few days to go, i've not finished my Christmas shopping, the presents still aren't wrapped, the tree is up (Complete with hand lettered bauble by Kayleigh Tarrant) though I had to be forced into getting one. I have a small mountain of festive baking orders to complete, which i'm looking forward to creating, however my oven has decided to give up the ghost. I also promised myself weeks ago I'd share a couple, if not several recipes for festive gifts here. Sadly, it was not to be. However I would like to share with you what's been happening over the last few weeks, as well as working hard (Christmas + catering industry = crazy times!) there's been plenty of festive play also... 

Firstly I need to tell you that as I write this post I'm also snacking on macarons from Iceland (I'm talking economy frozen food store not country) They are £5.00 for 12 and are also rather good. I fear I may soon be out of a job. 

We spent a dream of an evening at Number 27's wreath making class which Louise wrote about over here, there's also a beautiful video of the evening captured by Rachael Grace over here

We had afternoon tea with Janet then went Christmas decoration shopping in John Lewis, though I decided to opt for homemade decorations this year in the form of brown paper stars (Again, I had great plans for a tutorial post here, maybe next year!)

I'm going to dedicate this recipe to everyone who is as unprepared as I am this festive season. Those people who leave all the things until the last minute then spend more time panicking about getting it done than actually getting sh*t done. If you're in that place I salute you, we can get through this.

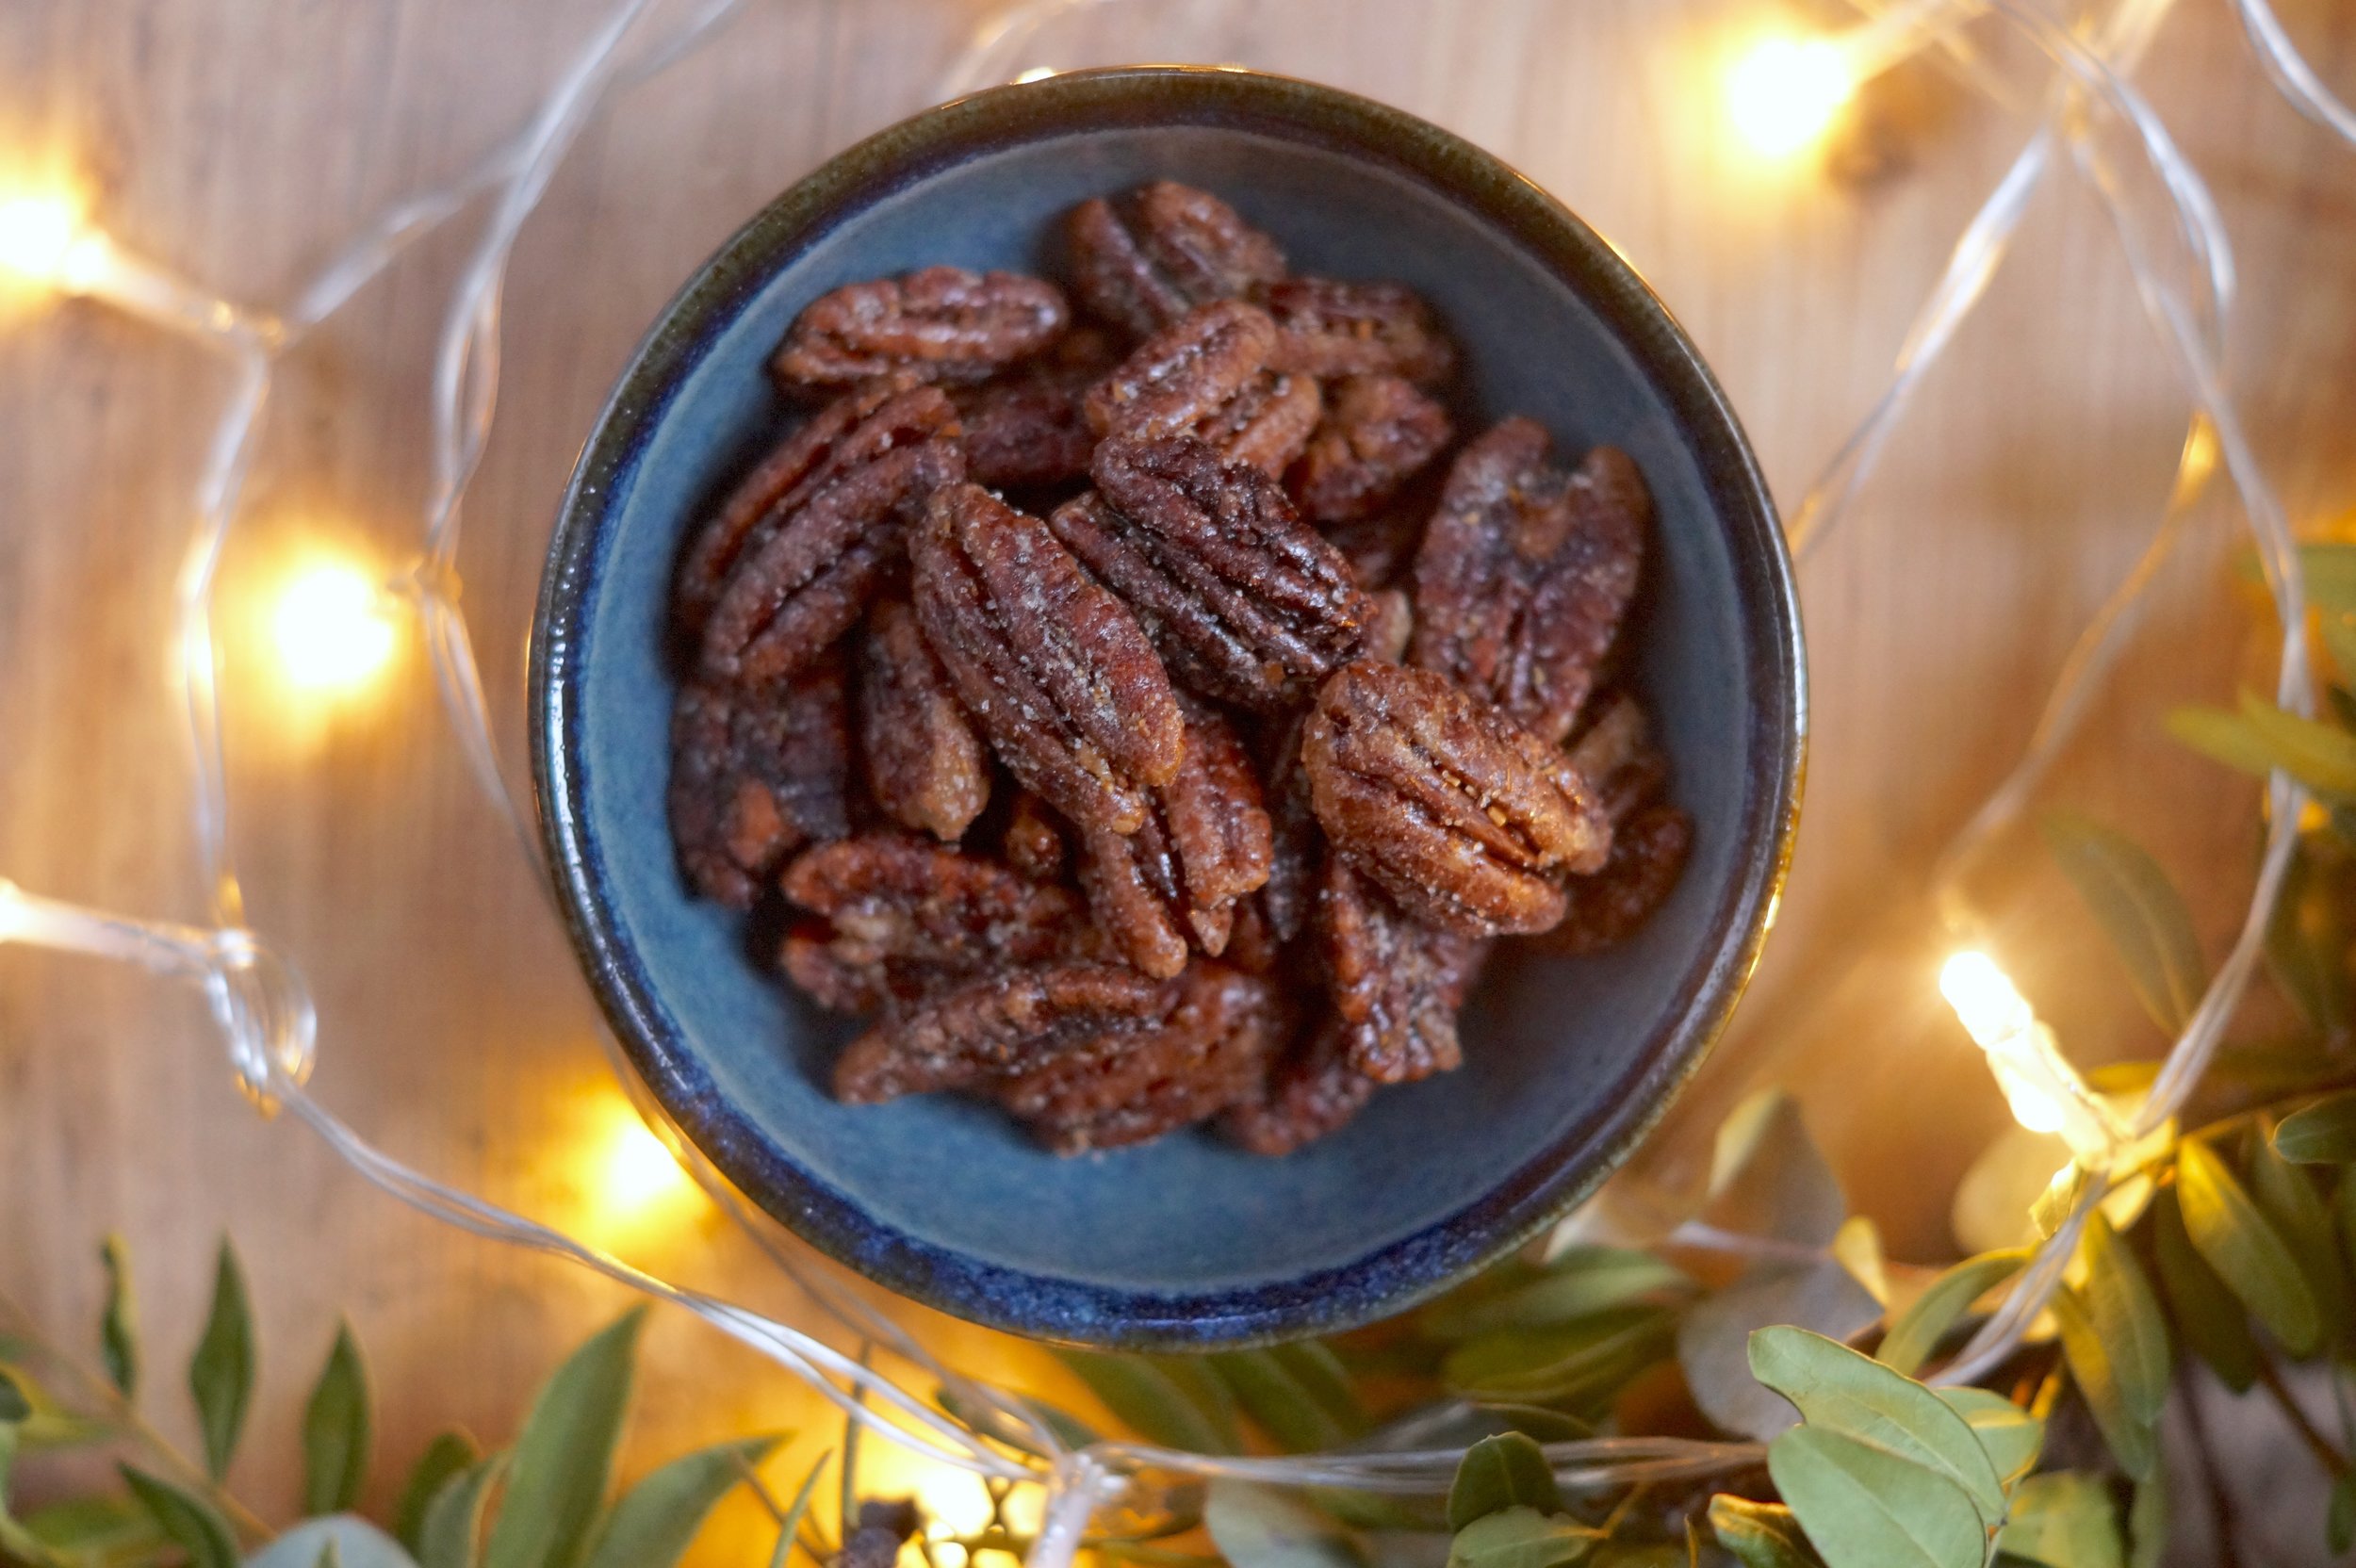
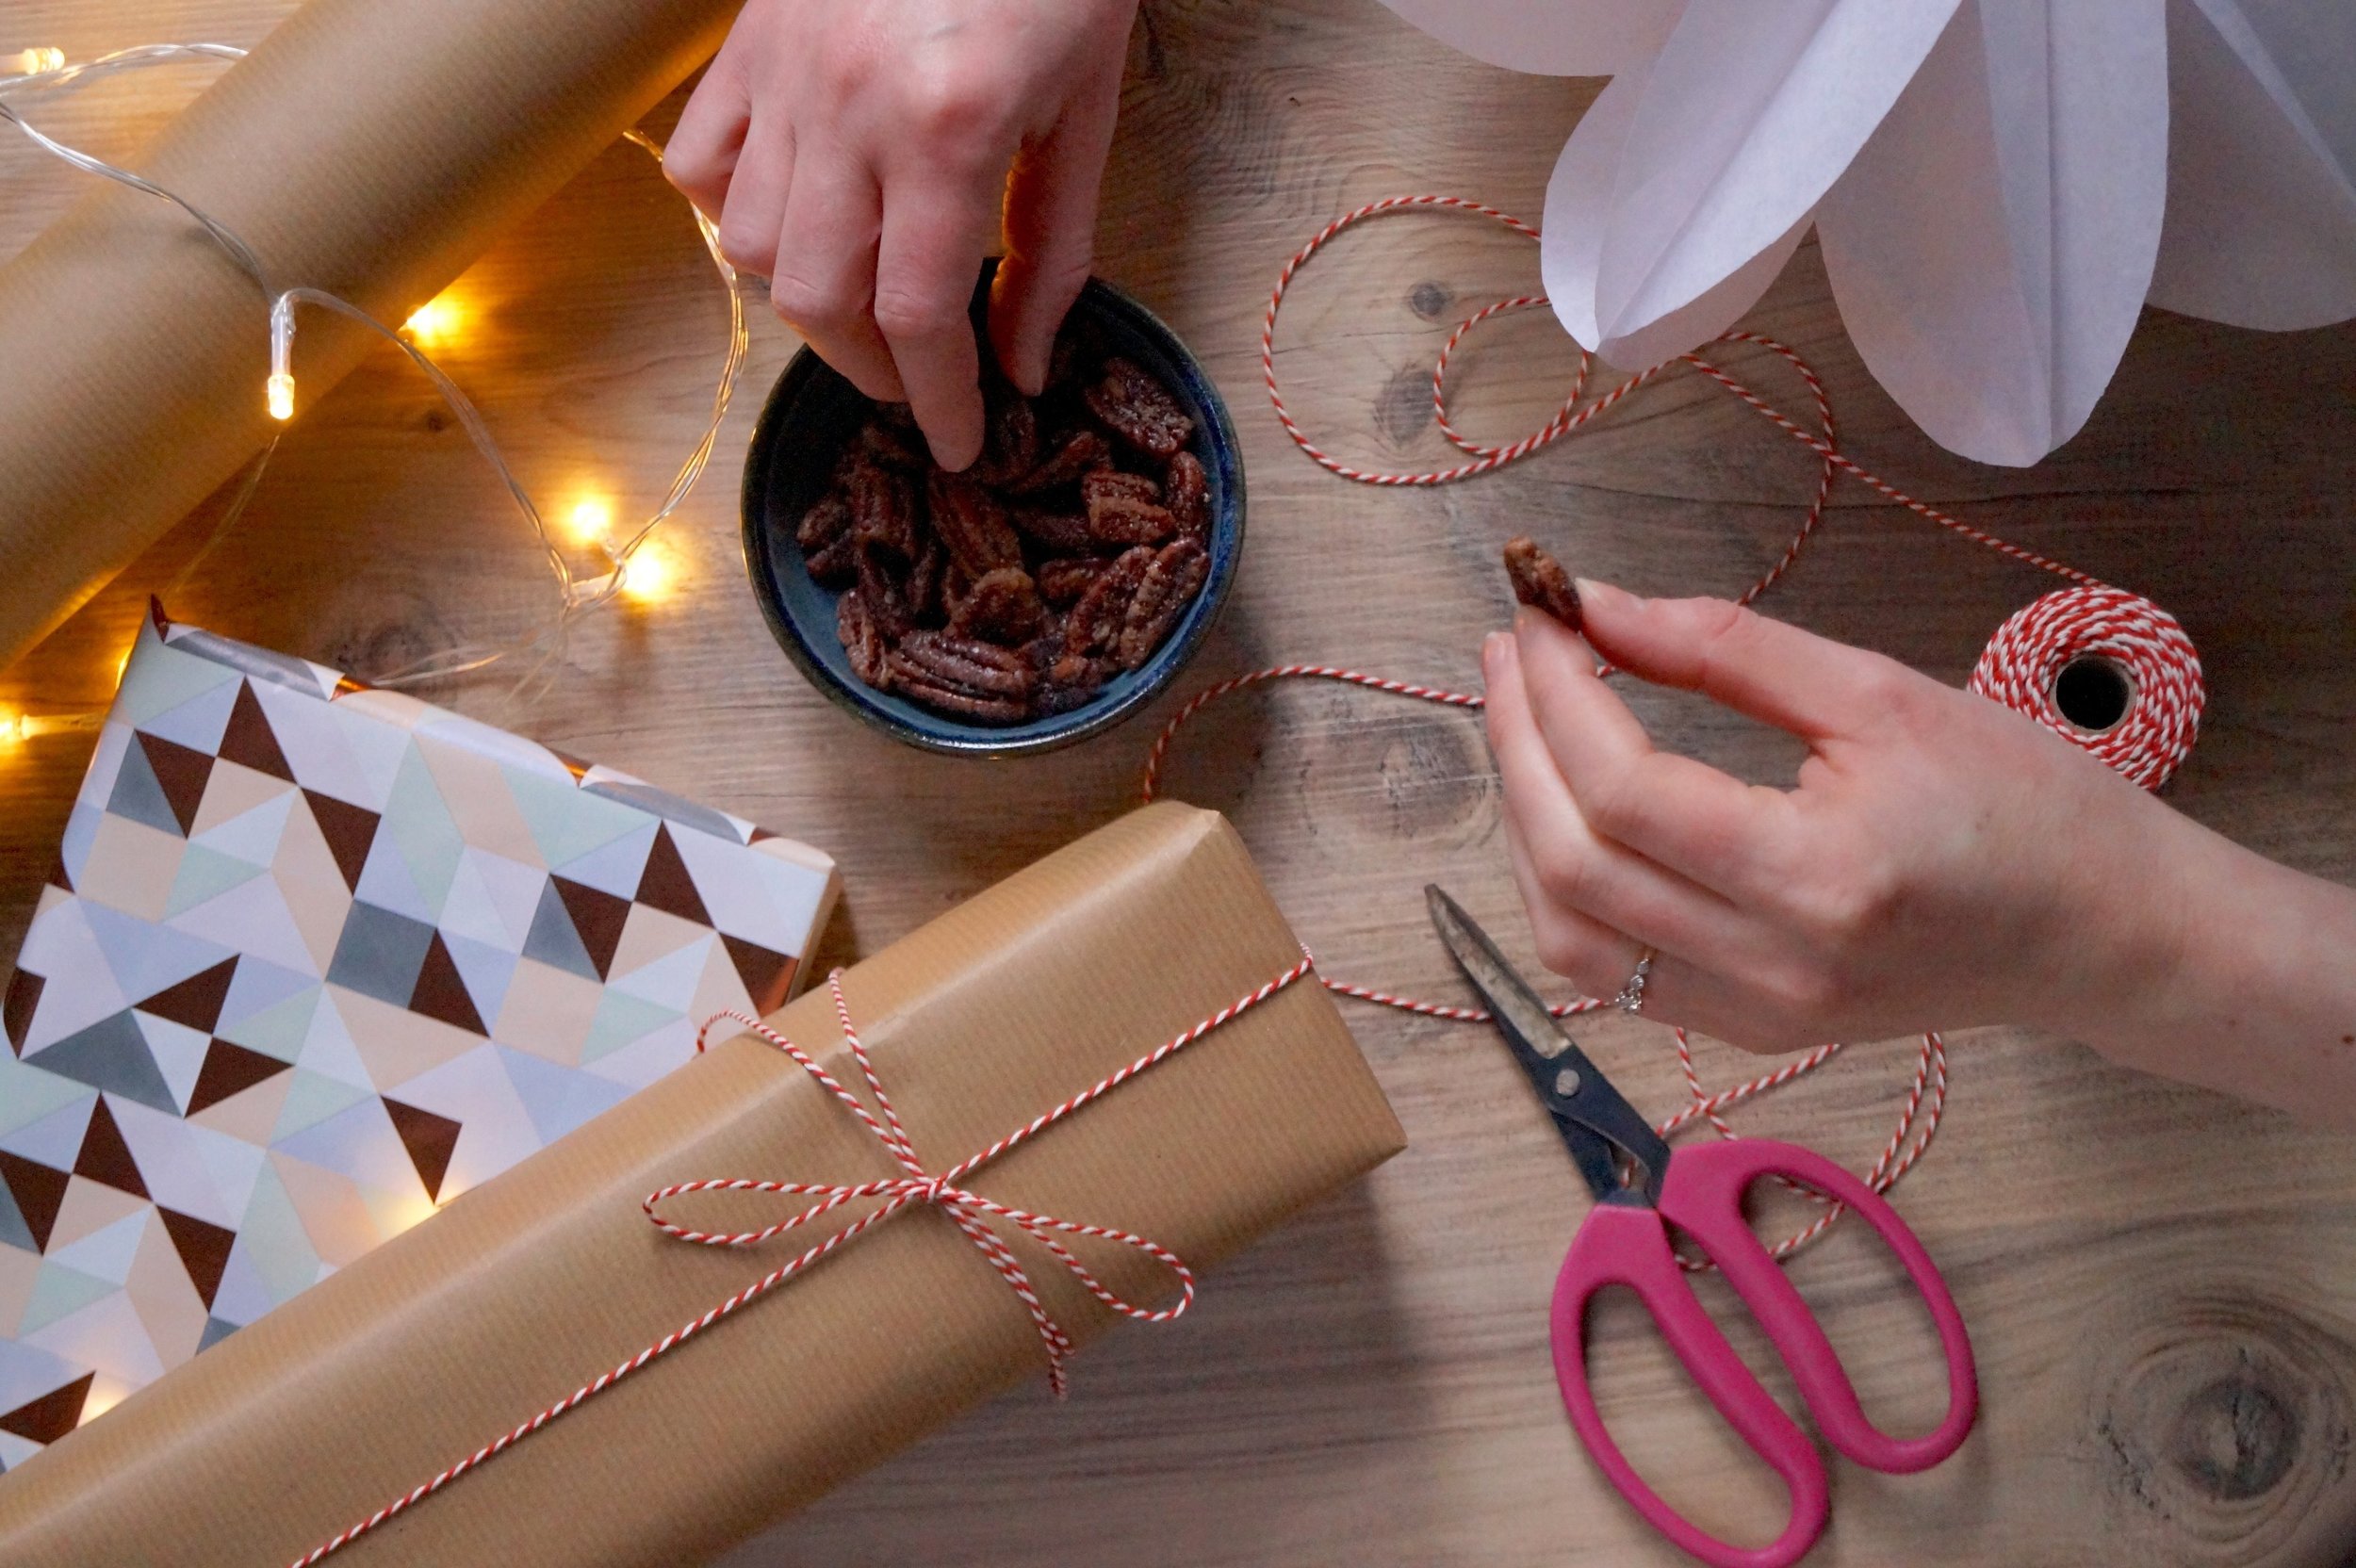
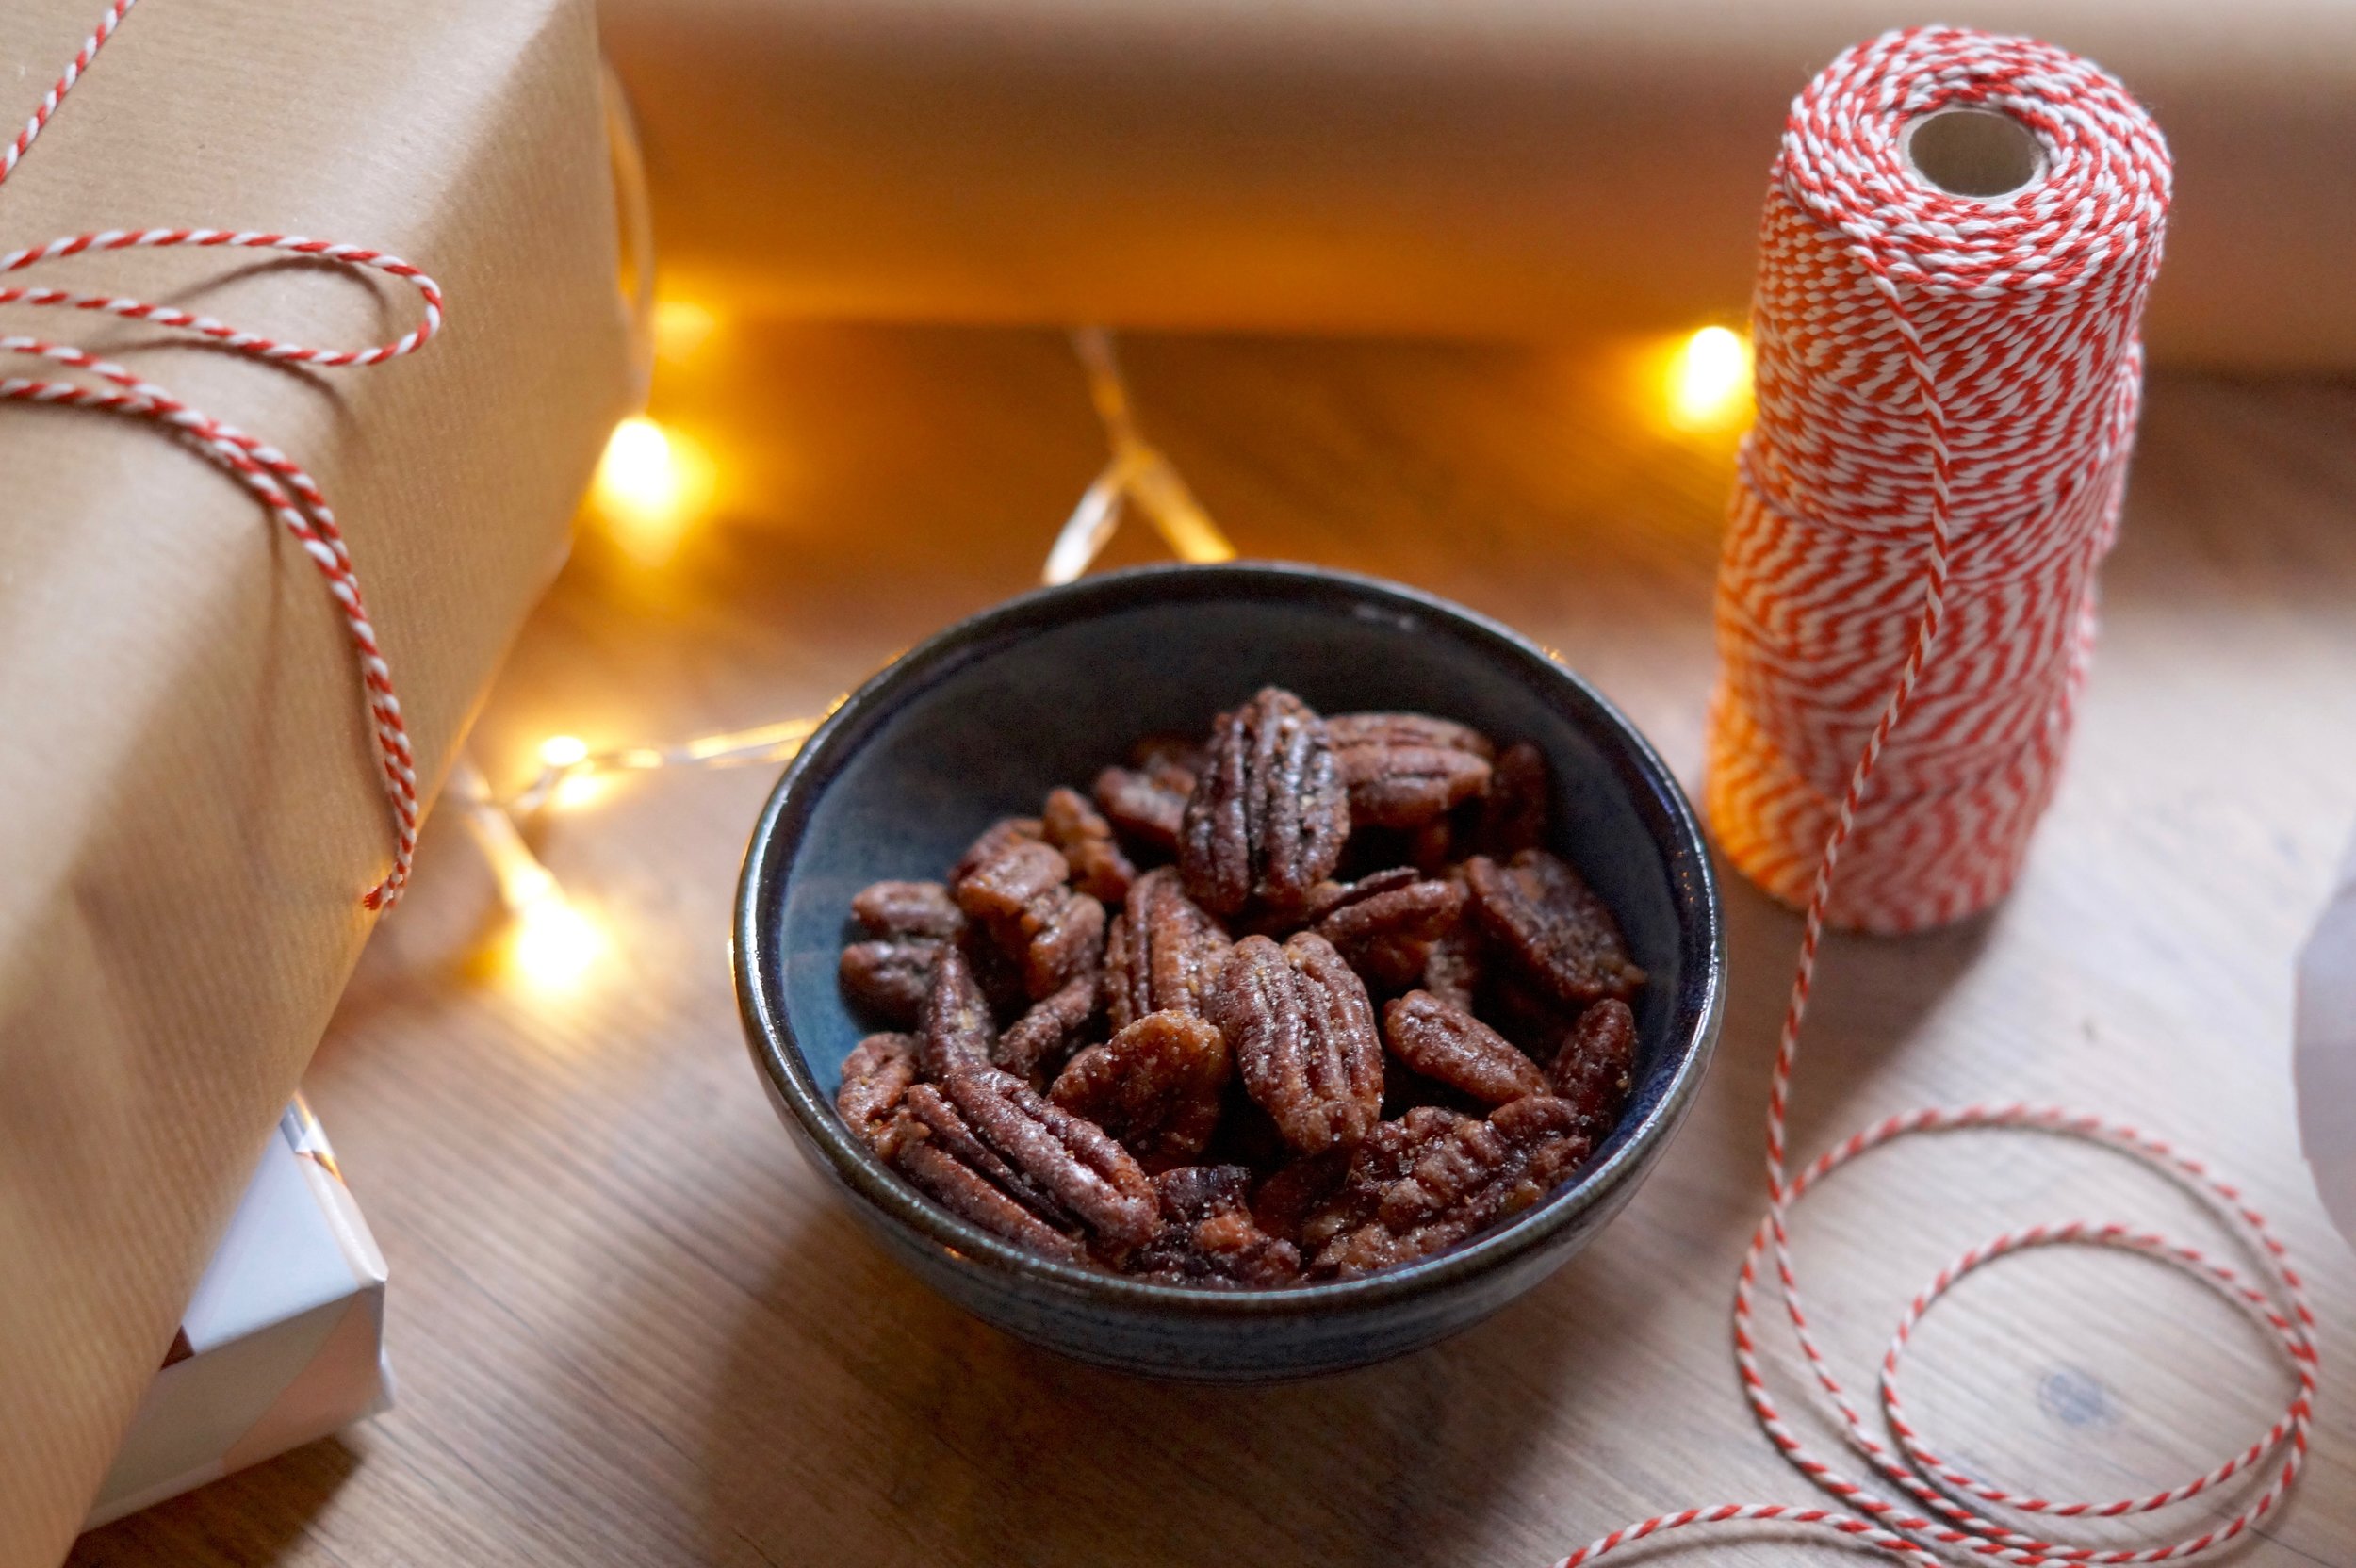
This is a really simple recipe, perfect for 11th hour homemade gifting, great to have on hand in case of any surprise visitors and splendid for snacking on whilst finishing that last minute wrapping. They go down rather nicely with a glass of Prosecco too. 

You will need:

  • 250g granulated sugar
  • 250ml water
  • 250ml pecans
  • 1 Tbls Olive oil
  • 1 tsp salt
  • 1  further tsp granulated sugar
  • 1 tsp cumin seeds
  • 1 tsp caraway seeds

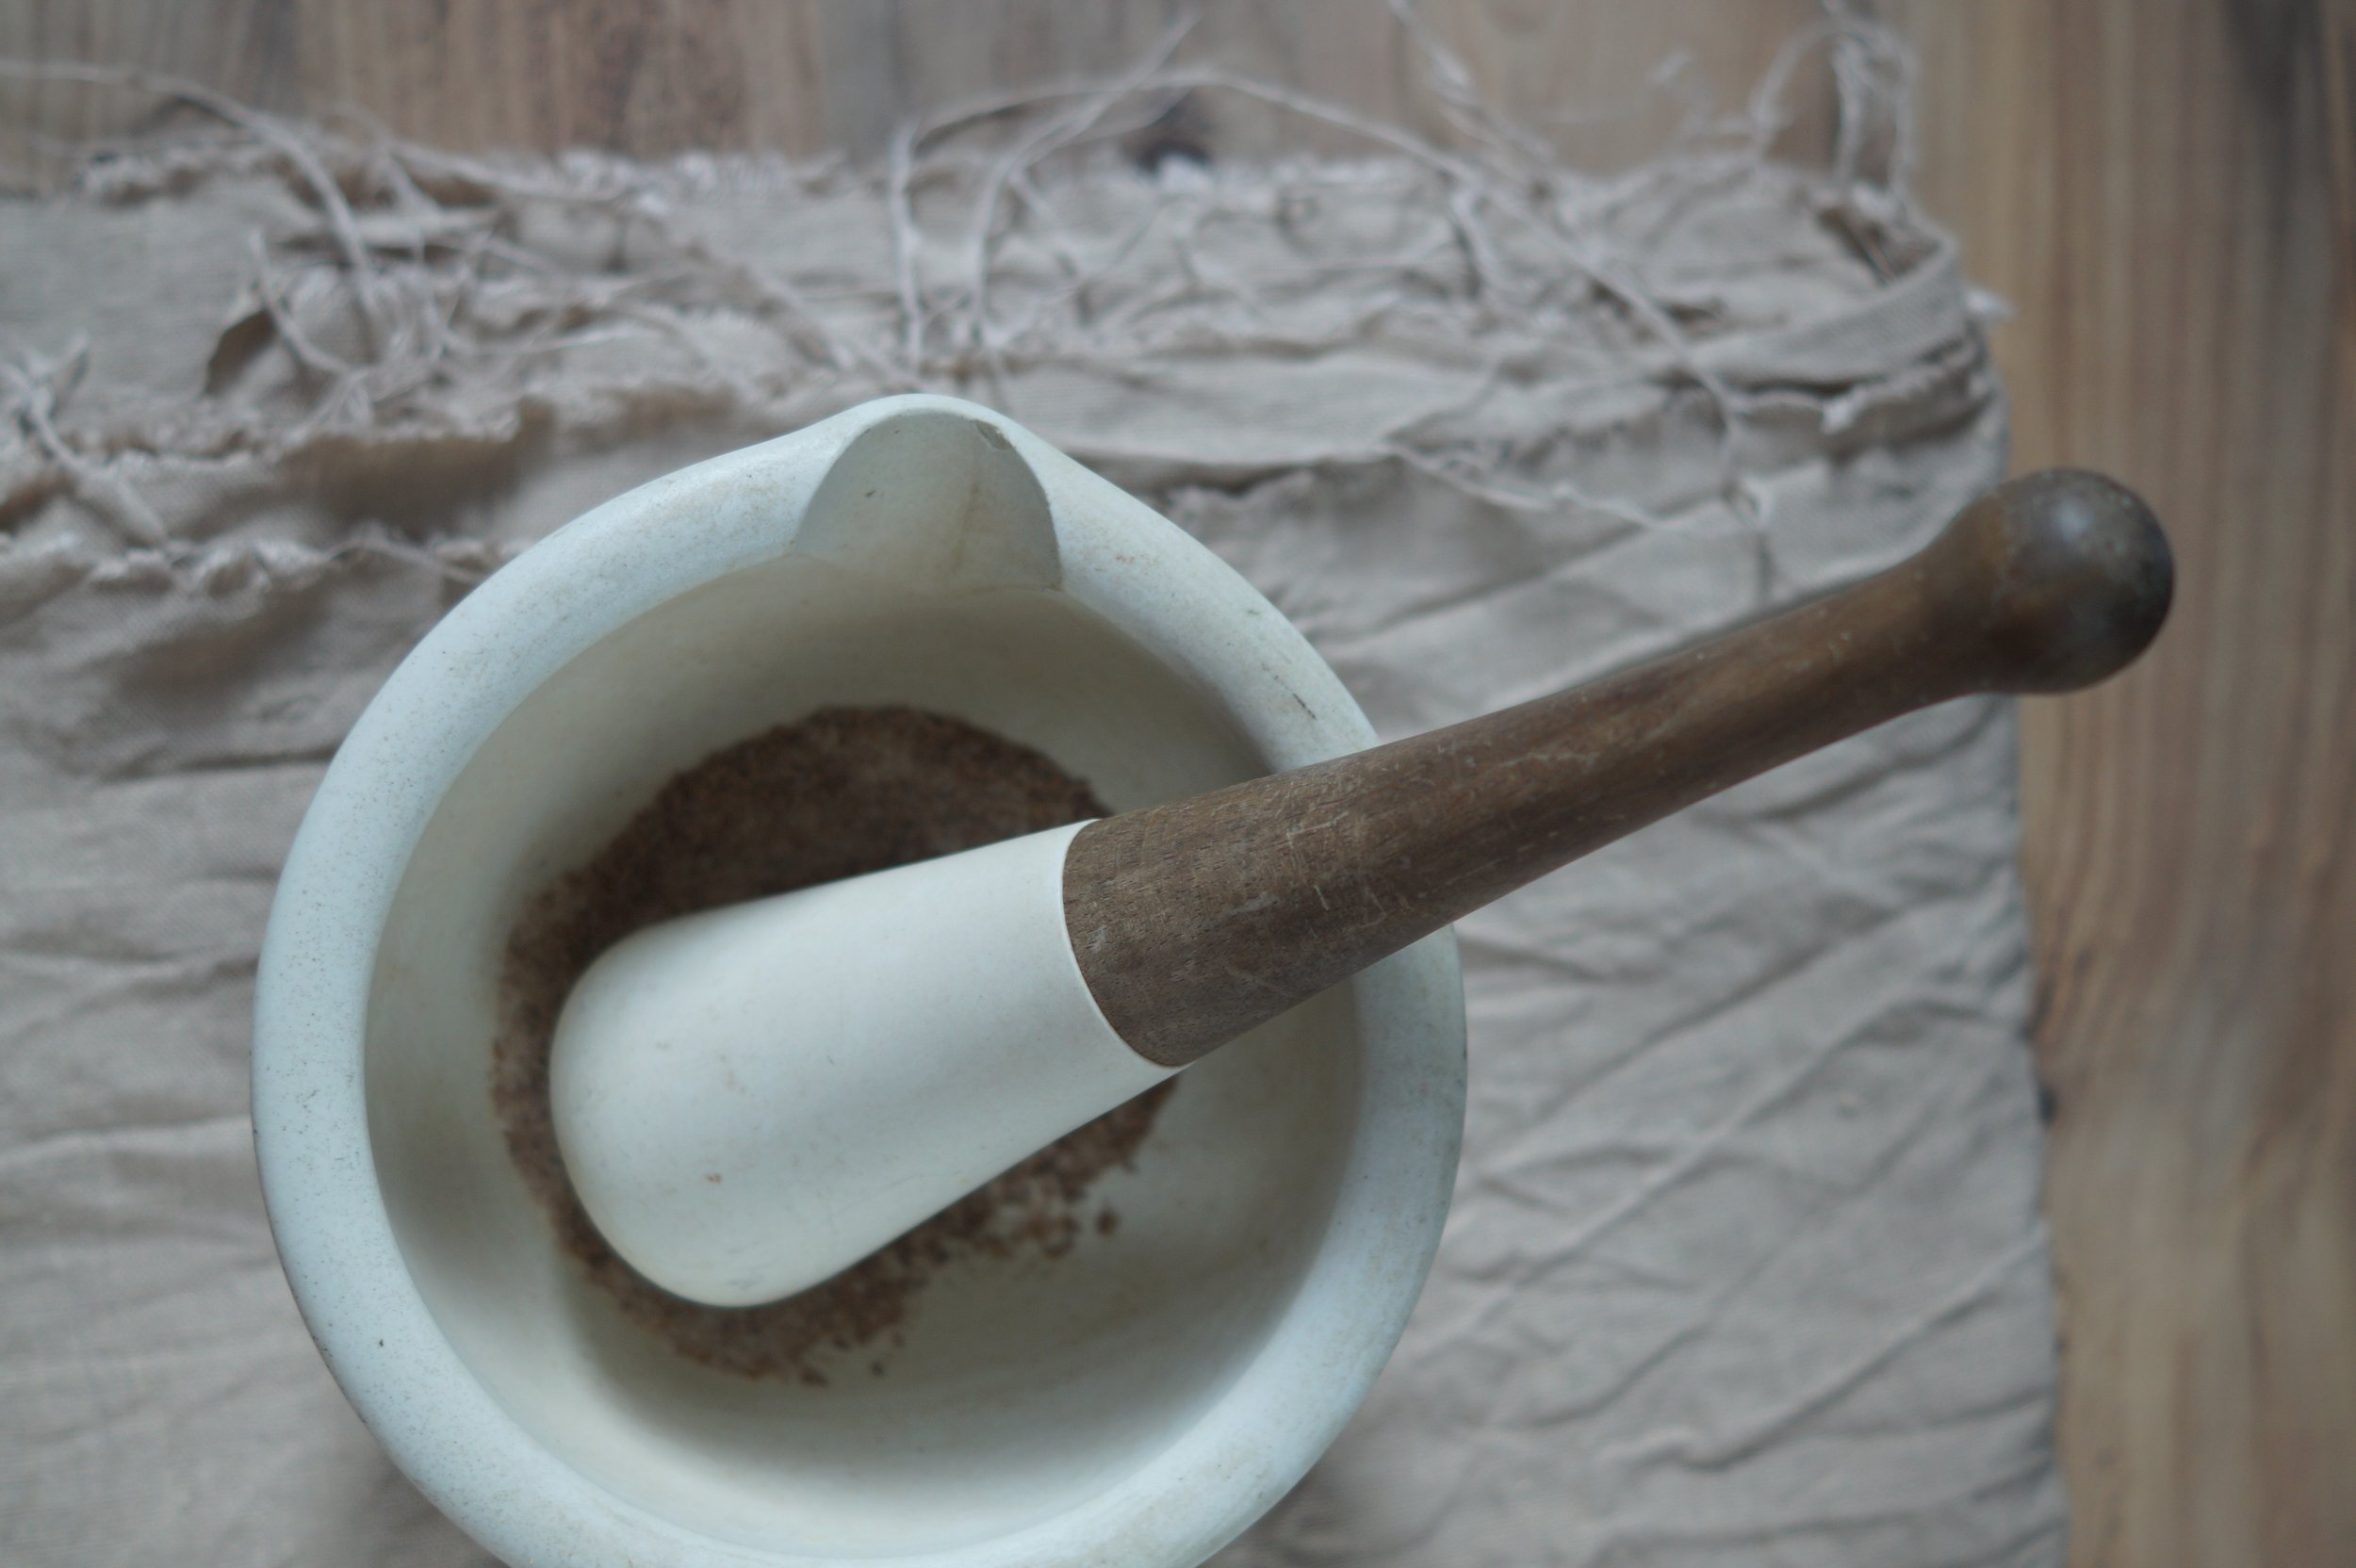
Preheat your oven to 190°C/175°C fan/gas mark 5. Combine the water and sugar in a saucepan and bring the mixture to a rolling boil to create a stock syrup. Add the pecans to the boiling liquid. Allow the pan to come up to the boil again and continue to boil for 6 minutes then drain the nuts through a colander, discard the syrup. Place the drained nuts onto a baking tray lined with parchment, drizzle over the olive oil, stir to coat and bake the nuts for 6 minutes. While the nuts are baking prepare the spices. Place the cumin and caraway seeds in a small frying pan over a medium heat and toast for a minute or two until aromatic. Combine the nuts with the salt and sugar and blend together, you can grind them in a spice grinder or pestle and mortar for a more even distribution. Once the Nuts have toasted remove from the oven and toss through the spice mix. It's best to try and wait till the nuts are cool before tasting so they can crisp up, however this is quite a test on the old willpower, particularly when the nerves are a little fraught. 

Feel free to mix up the spices, a touch of smoked paprika or chilli goes down a storm. If you don't have pecans to hand Walnuts work well too, whole almonds and hazelnuts can be used but increase both the boiling and baking timings by a couple of minutes. 

At the end of the day all that really matters is spending time with family & friends, eating plenty of good food and sipping on the odd sherry. I hope you have a fantastic Christmas and all best wishes for a terrific 2017!


Recipe: Pina Colada Granita

Recipe: Pina Colada Granita

If you Like Pina Colada, and getting caught in the rain...

Then i've a rather fabulous recipe for you today. It's been a while since I posted a recipe, my bad. Yes the great British summertime is upon us with ever variable  & inconsistent weather. I'd planned this recipe in for a couple of weeks ago when the weather was scorchio, but hey,  you know, life and stuff intervened. So, here we are, unpredictability abounds and once again we need to pack all the things into the handbag before leaving the house: sunglasses, umbrella, wellies etc. To take or not to take the coat? That is the burning question. Largely if I take the coat I know the weather will be fine, if I decide to chance without it then theres bound to be a full blown thunderstorm. I had quite the comedy moment just a few weeks ago outside Radio Leicester when my golfing umbrella blew clean inside out, I honestly did not know this was possible with a golfing umbrella and i'm fairly sure Mary Poppins didn't have to put up with this sort of shit.

The important thing is Pina Coladas exude summer, and they can be enjoyed in the rain thus making them officially the best cocktail for British summertime. This recipe can be served straight up if it's a bit chilly, but if the weather should take a sudden turn then granita is most definitely the way. Alternatively, this could be made on a rainy day and stored in the freezer until a sunshine occasion should present itself. The decision is yours. 

You will need...

  • 250ml coconut milk
  • 150ml pineapple juice
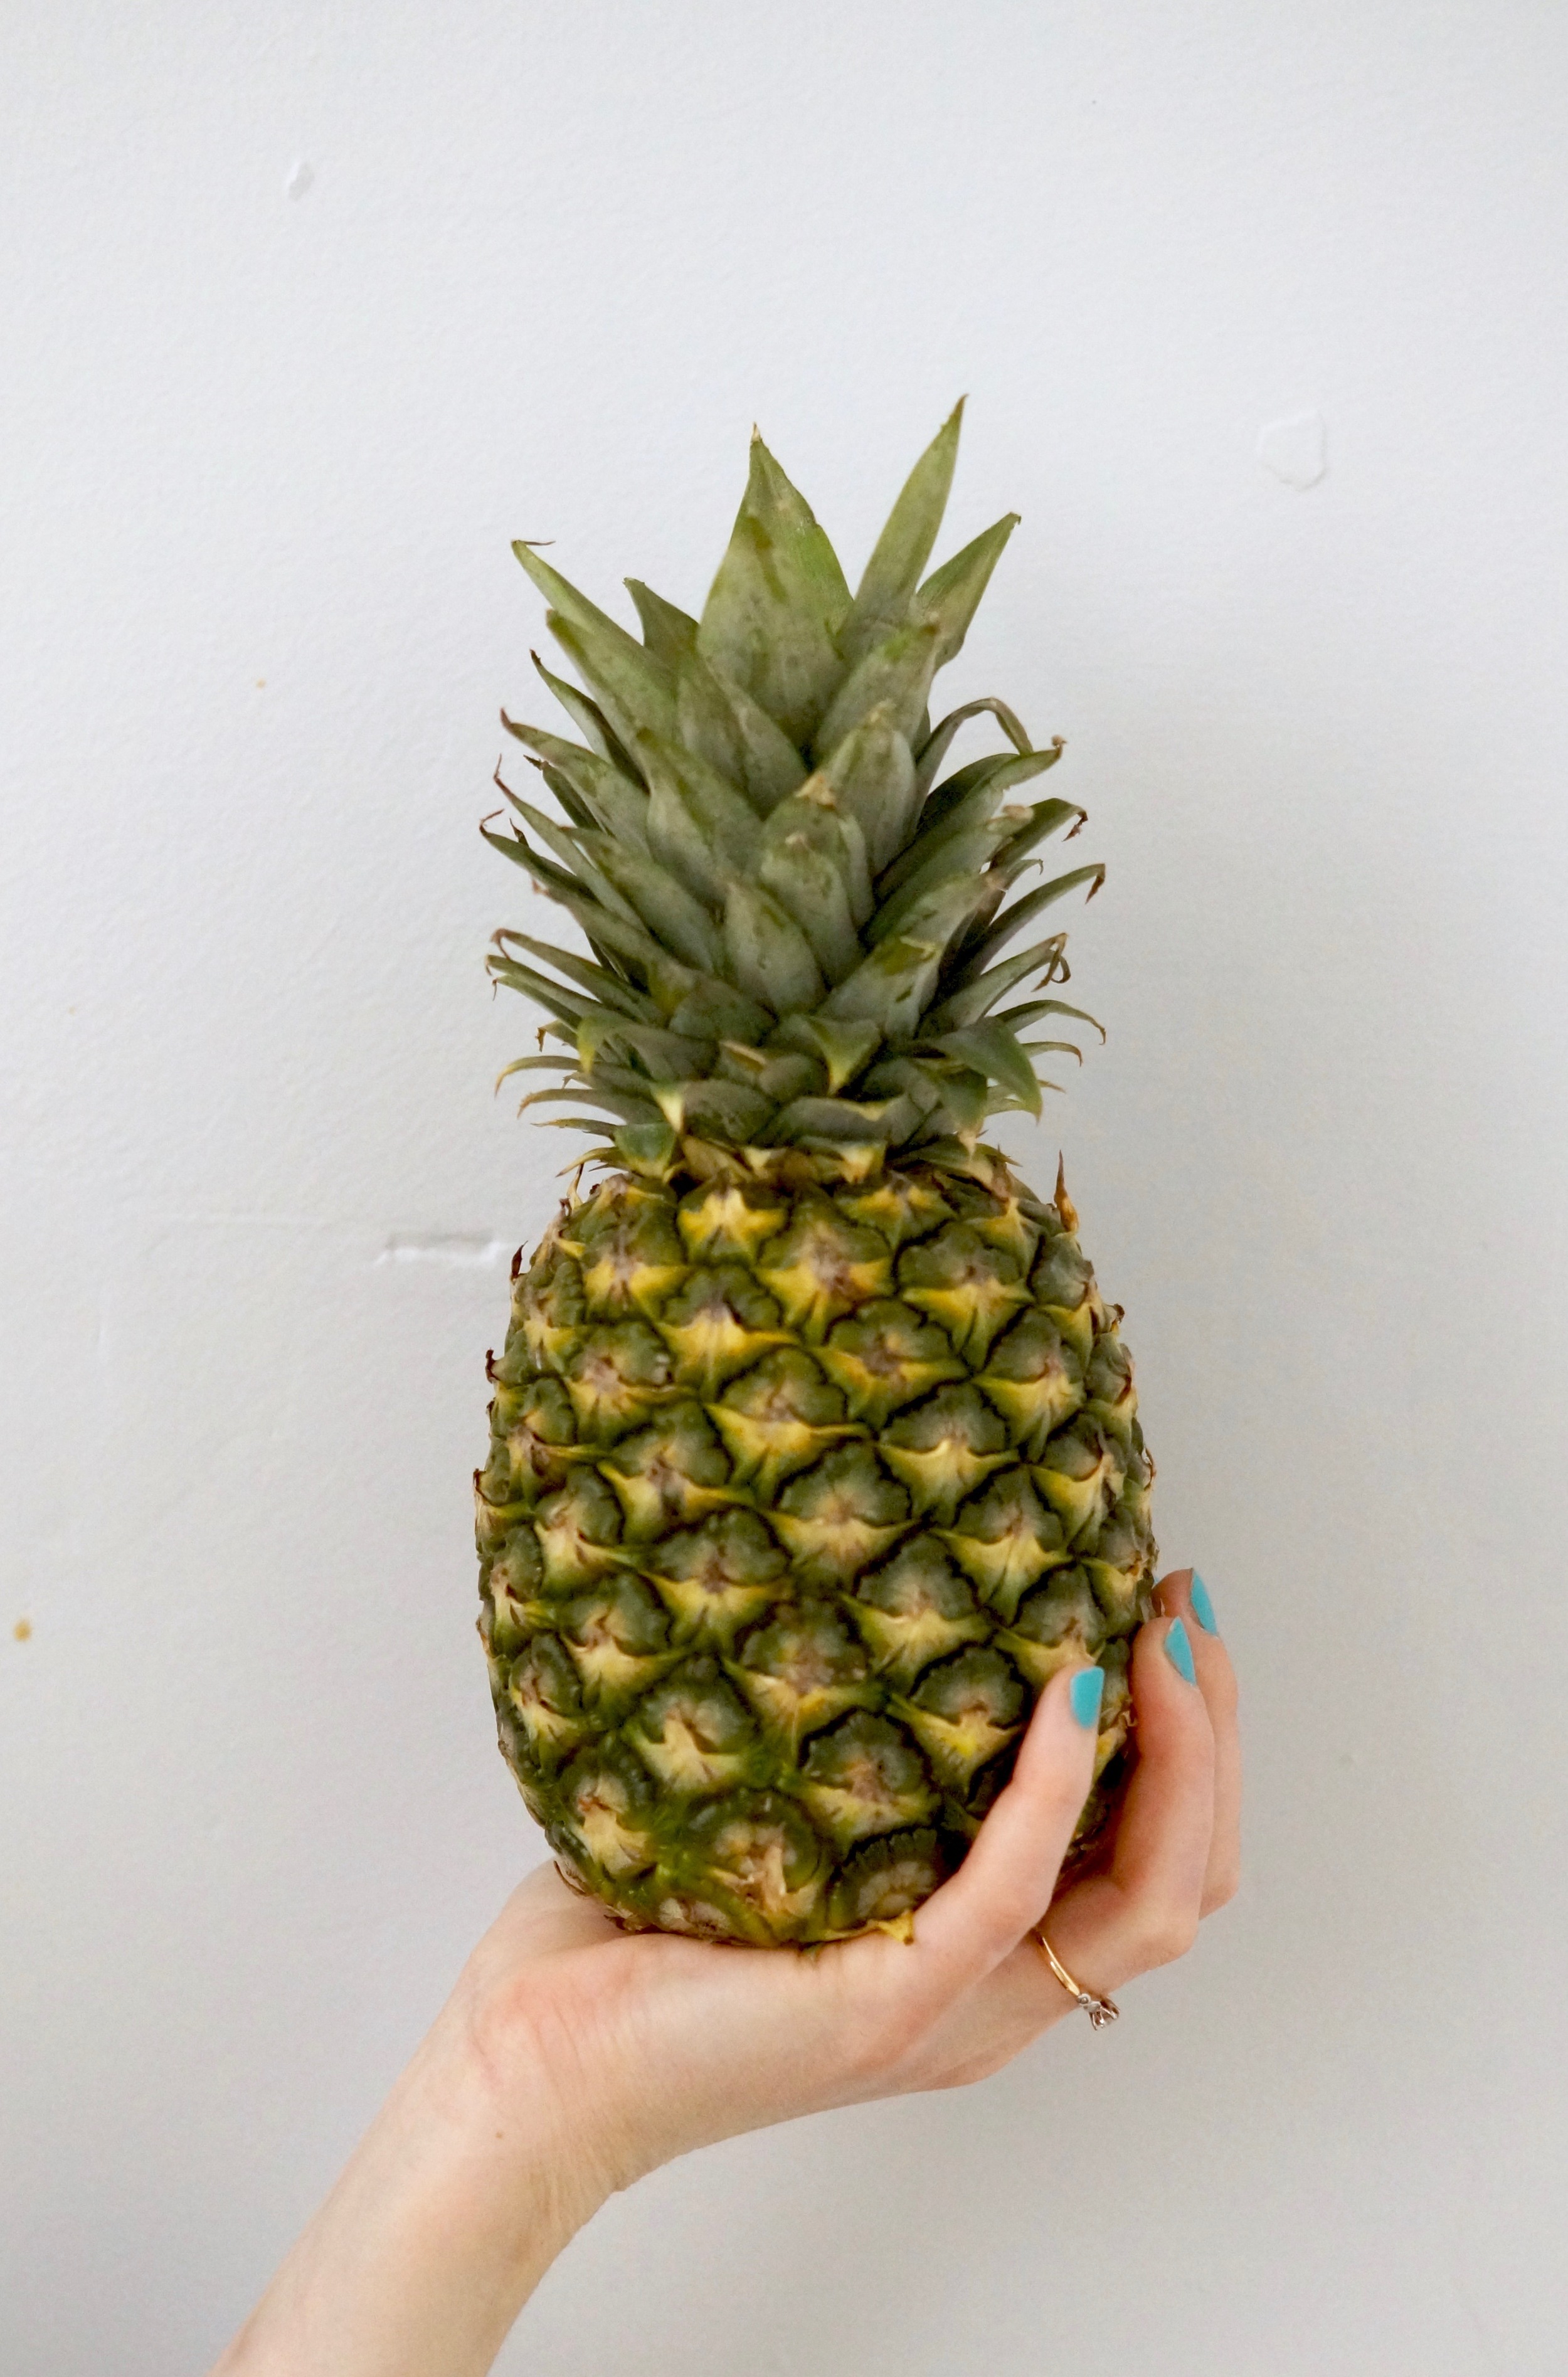
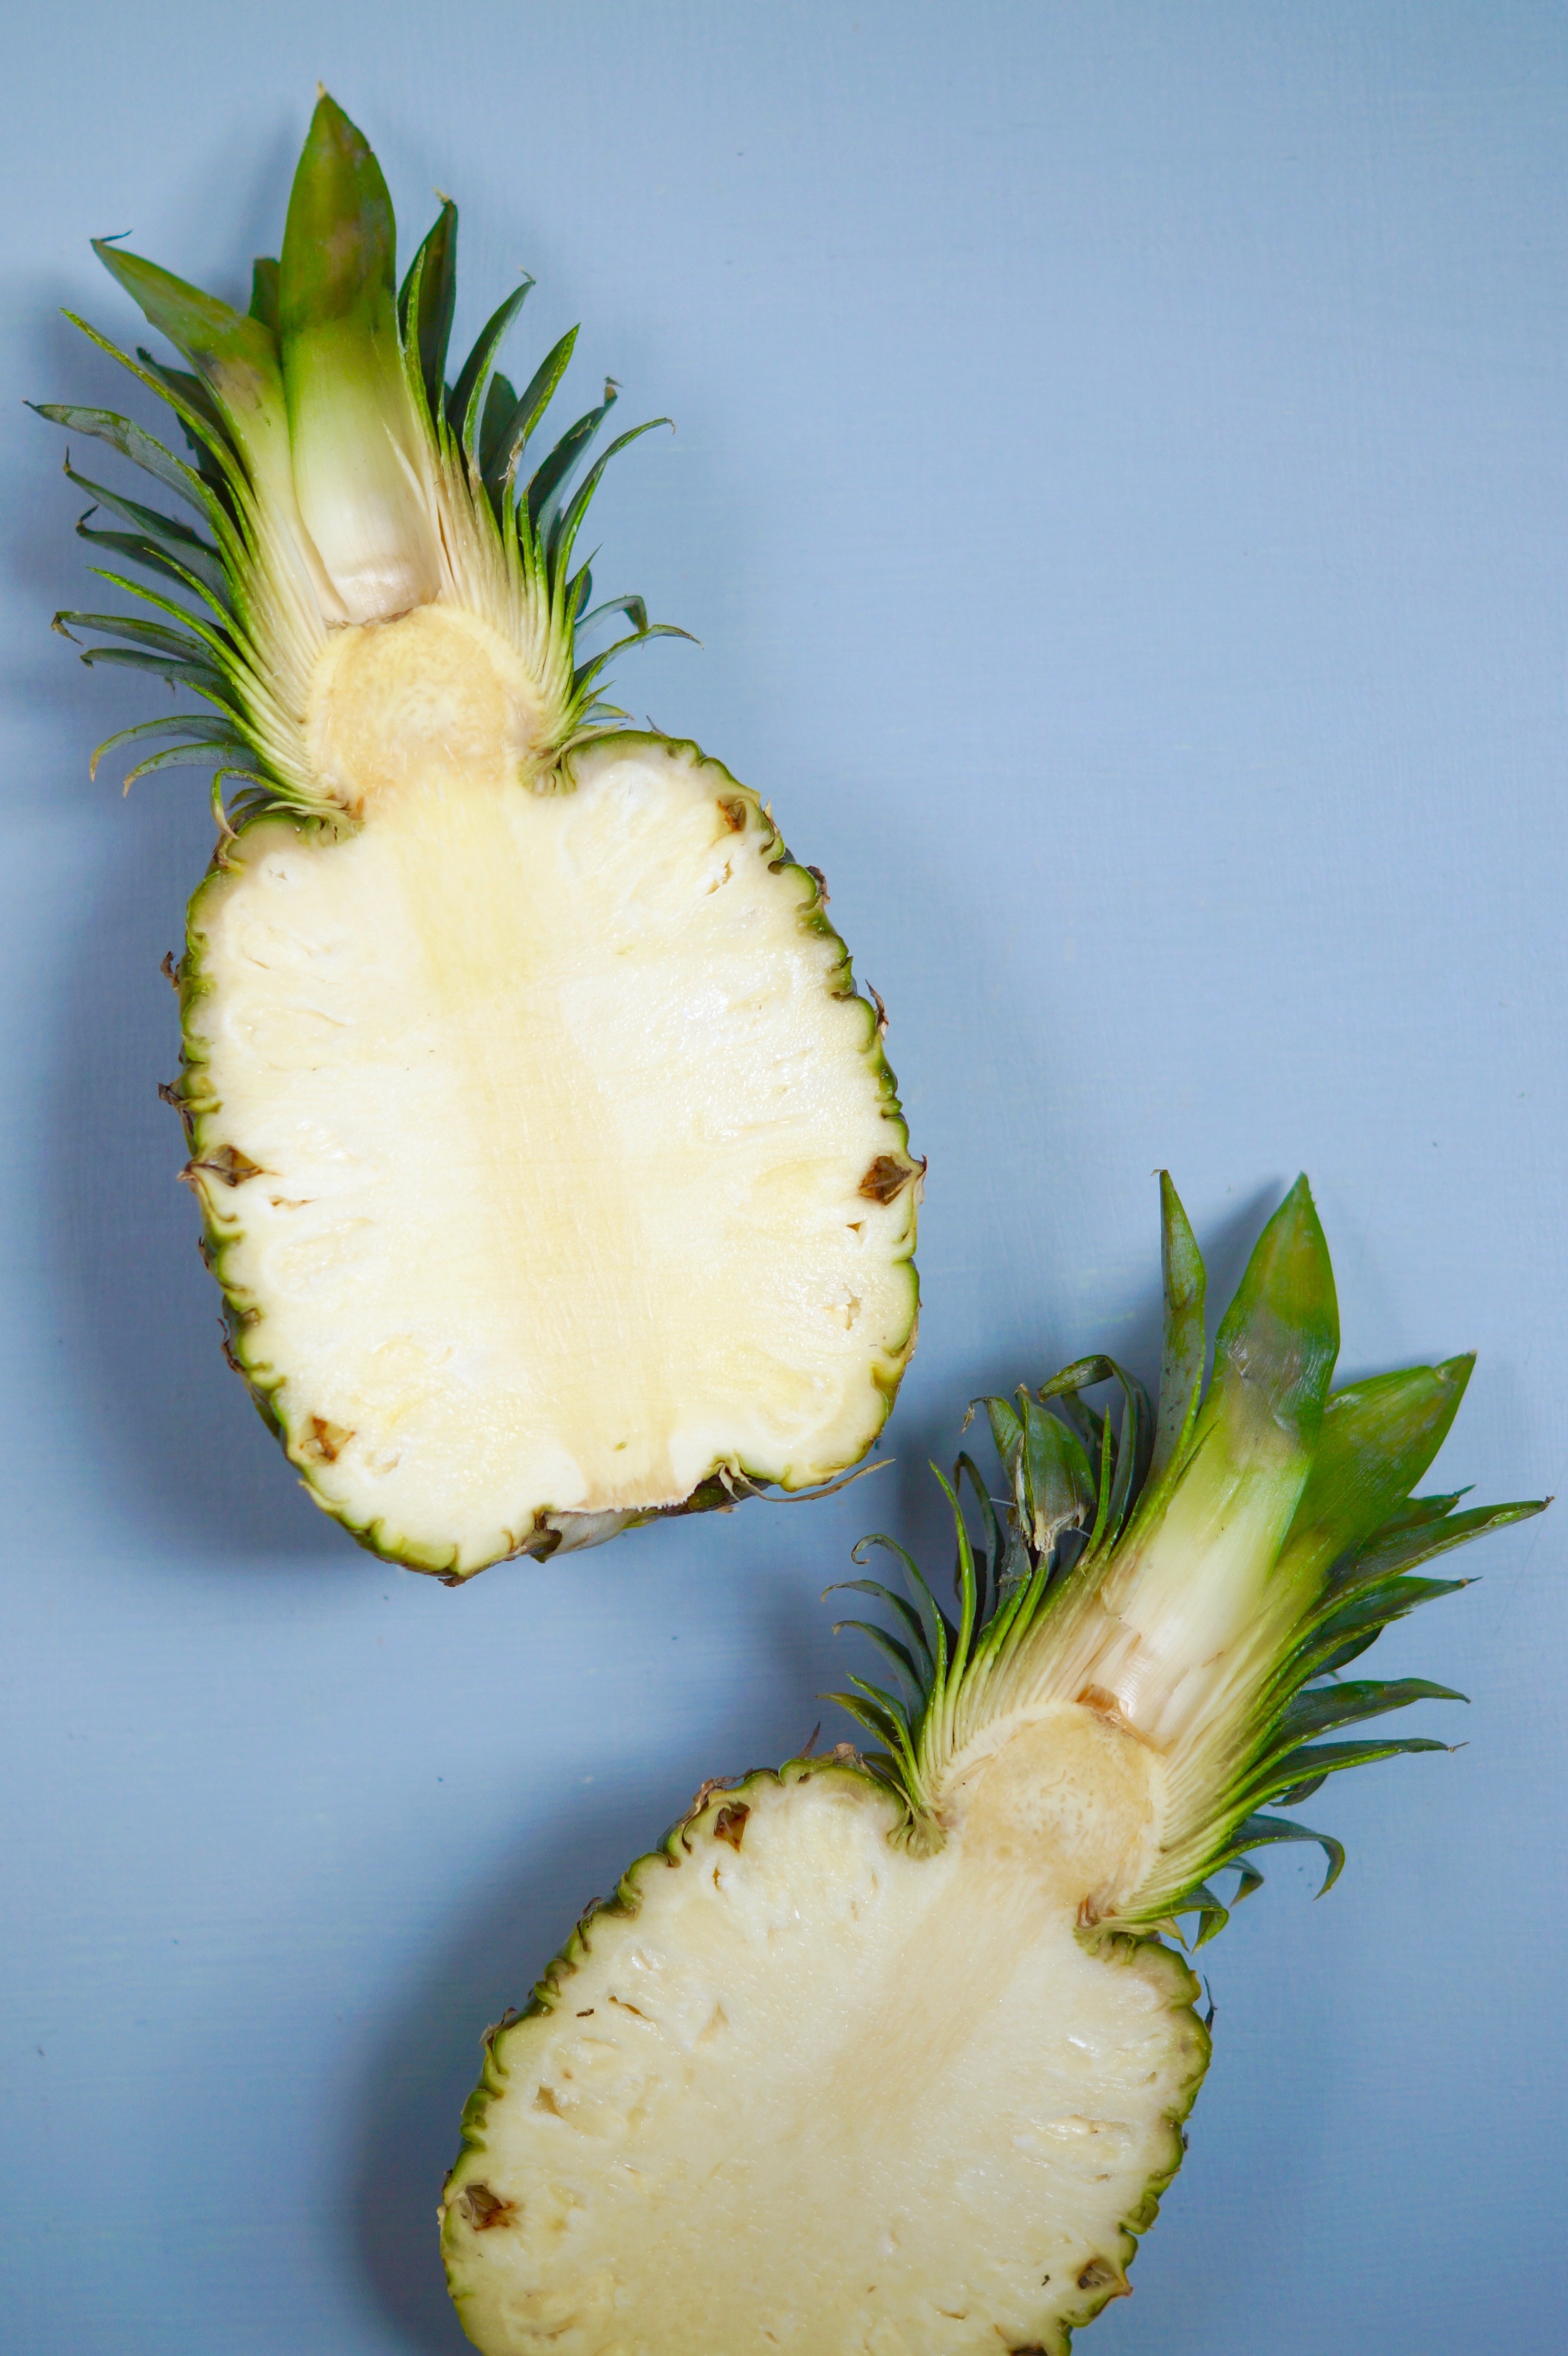
  • 100g pineapple, peeled and diced
  • 50ml white rum (Optional)
  • 1 tsp sugar or alternative sweetener
  • Pineapple & maraschino cherries to garnish

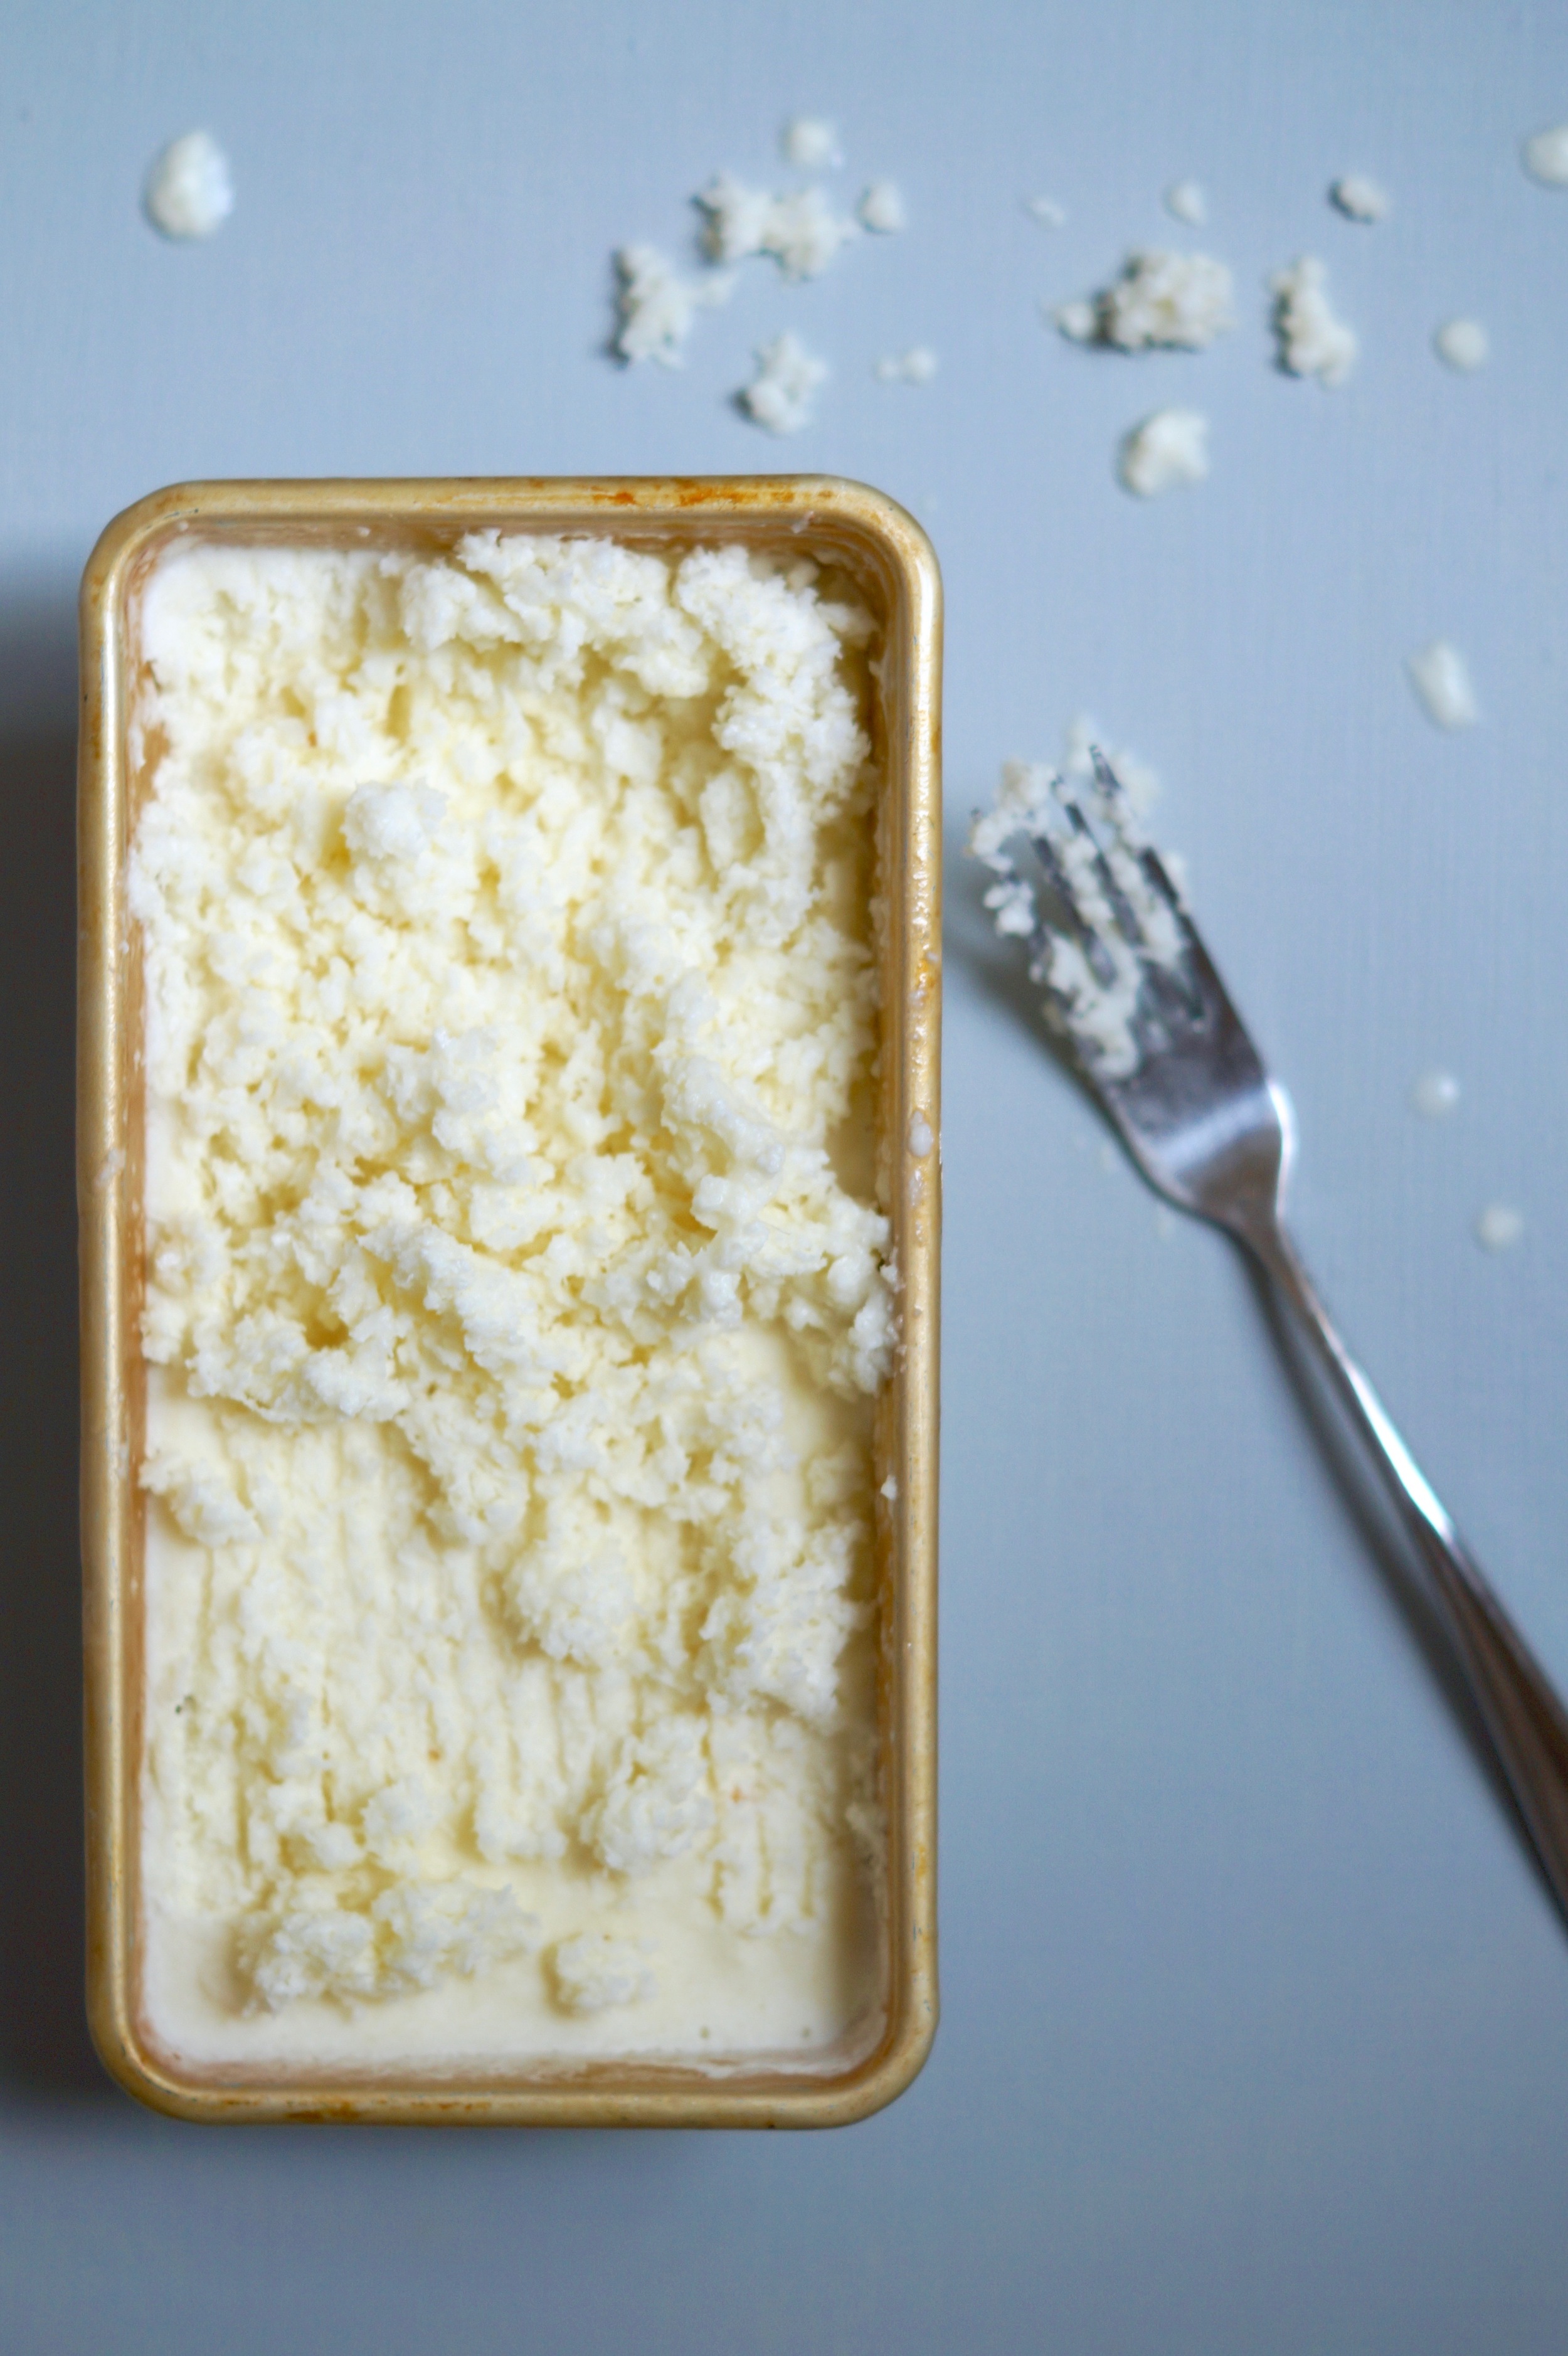
Place the coconut milk, pineapple, pineapple juice, rum and sugar into a food processor or blender and blitz until completely smooth. Freeze for 1 hour then scrape the frozen edges into the centre with a fork. Repeat this process every half hour until the granita is completely frozen, this should take around 2-3 hours. Store in the freezer until ready to use, to serve scrape the surface of the granita to break up the flakes once more. 

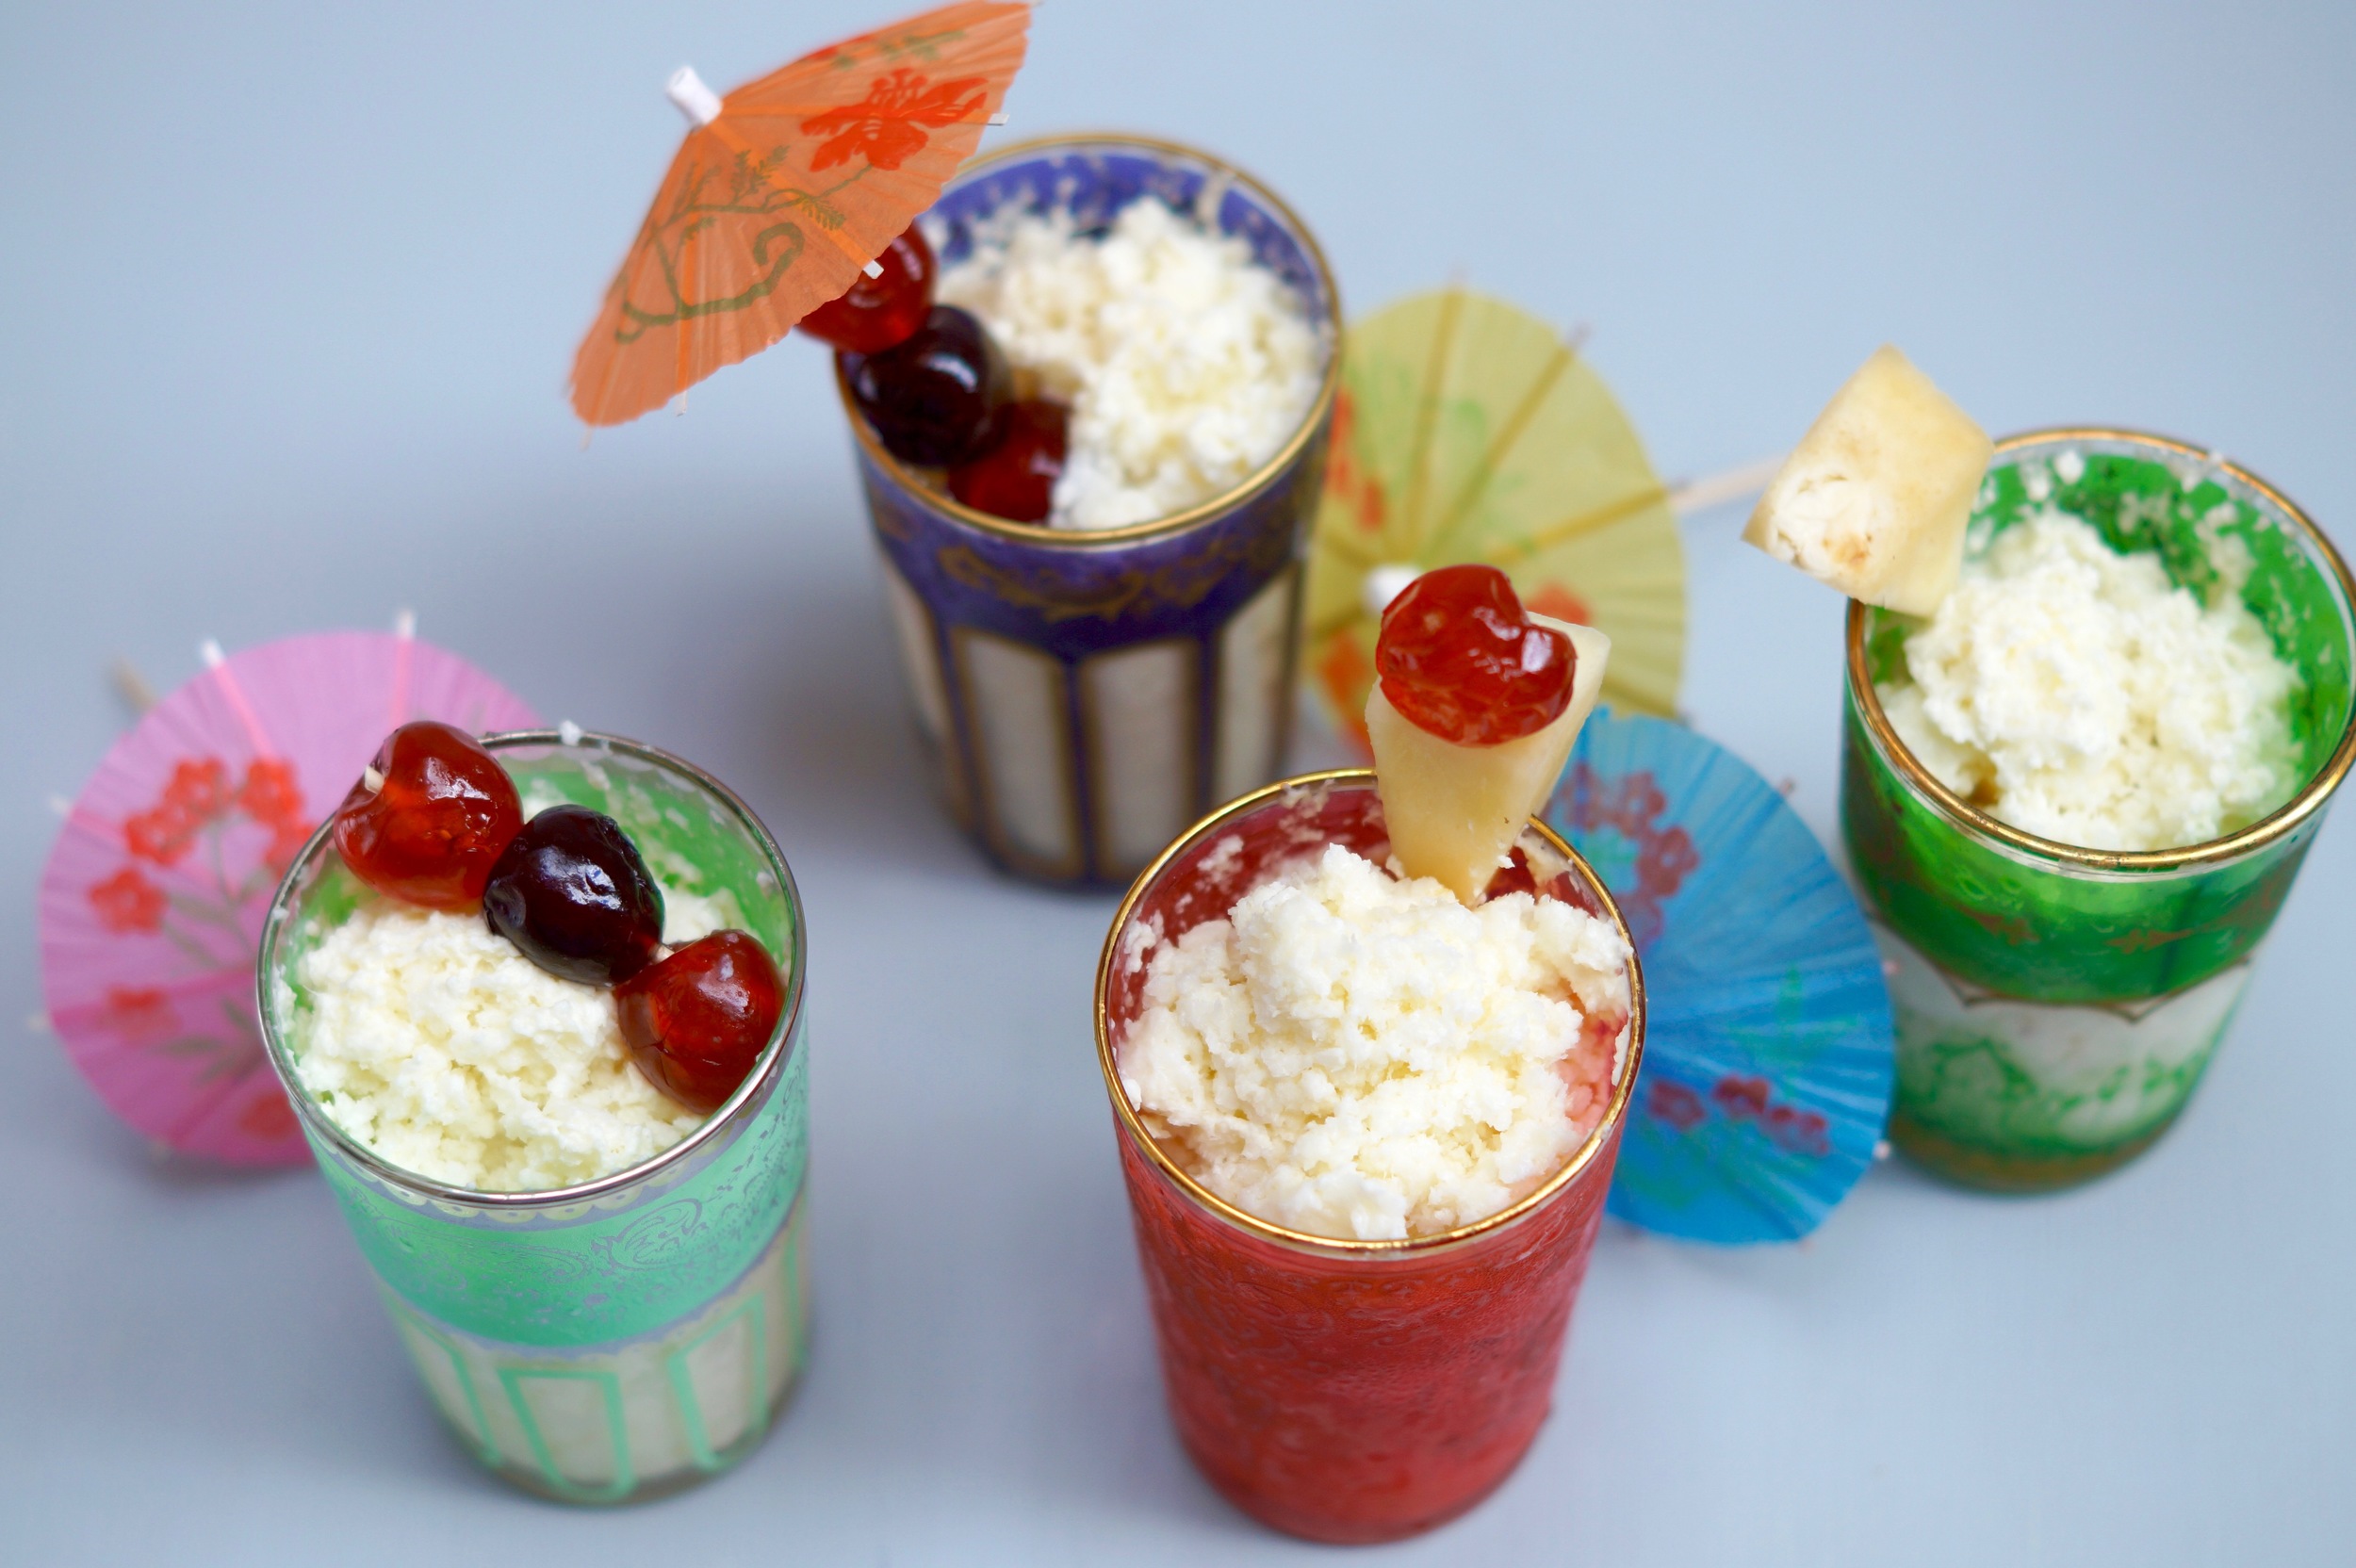
Spoon into glasses and garnish with pineapple, cherries and cocktail umbrellas, if you happen to have them to hand, just in case of rain.


Recipe: Labneh

Recipe: Labneh

I'm never more excited about a weekend than when there is the prospect of a food festival, and this weekend sees the return of what is quite possibly my favourite of all local foodie events. The Melton Mowbray artisan cheese fair. With 61 artisan cheesemakers and over 300 varieties of cheese on sale Its the largest event of it's kind in the uk. Cheese is a bit of a passion in our household and there is some preparation undertaken in advance of this momentous occasion, a strict spending budget needs to be set (To then be ignored!) But most importantly the fridge needs to be cleared to make way for our cheese hoard. This year however we were a little over excited and found ourselves in the preceding week with no cheese. This doesn't happen very often in my house and does induce a certain amount of panic, but fortunately I have an emergency recipe up my sleeve. 

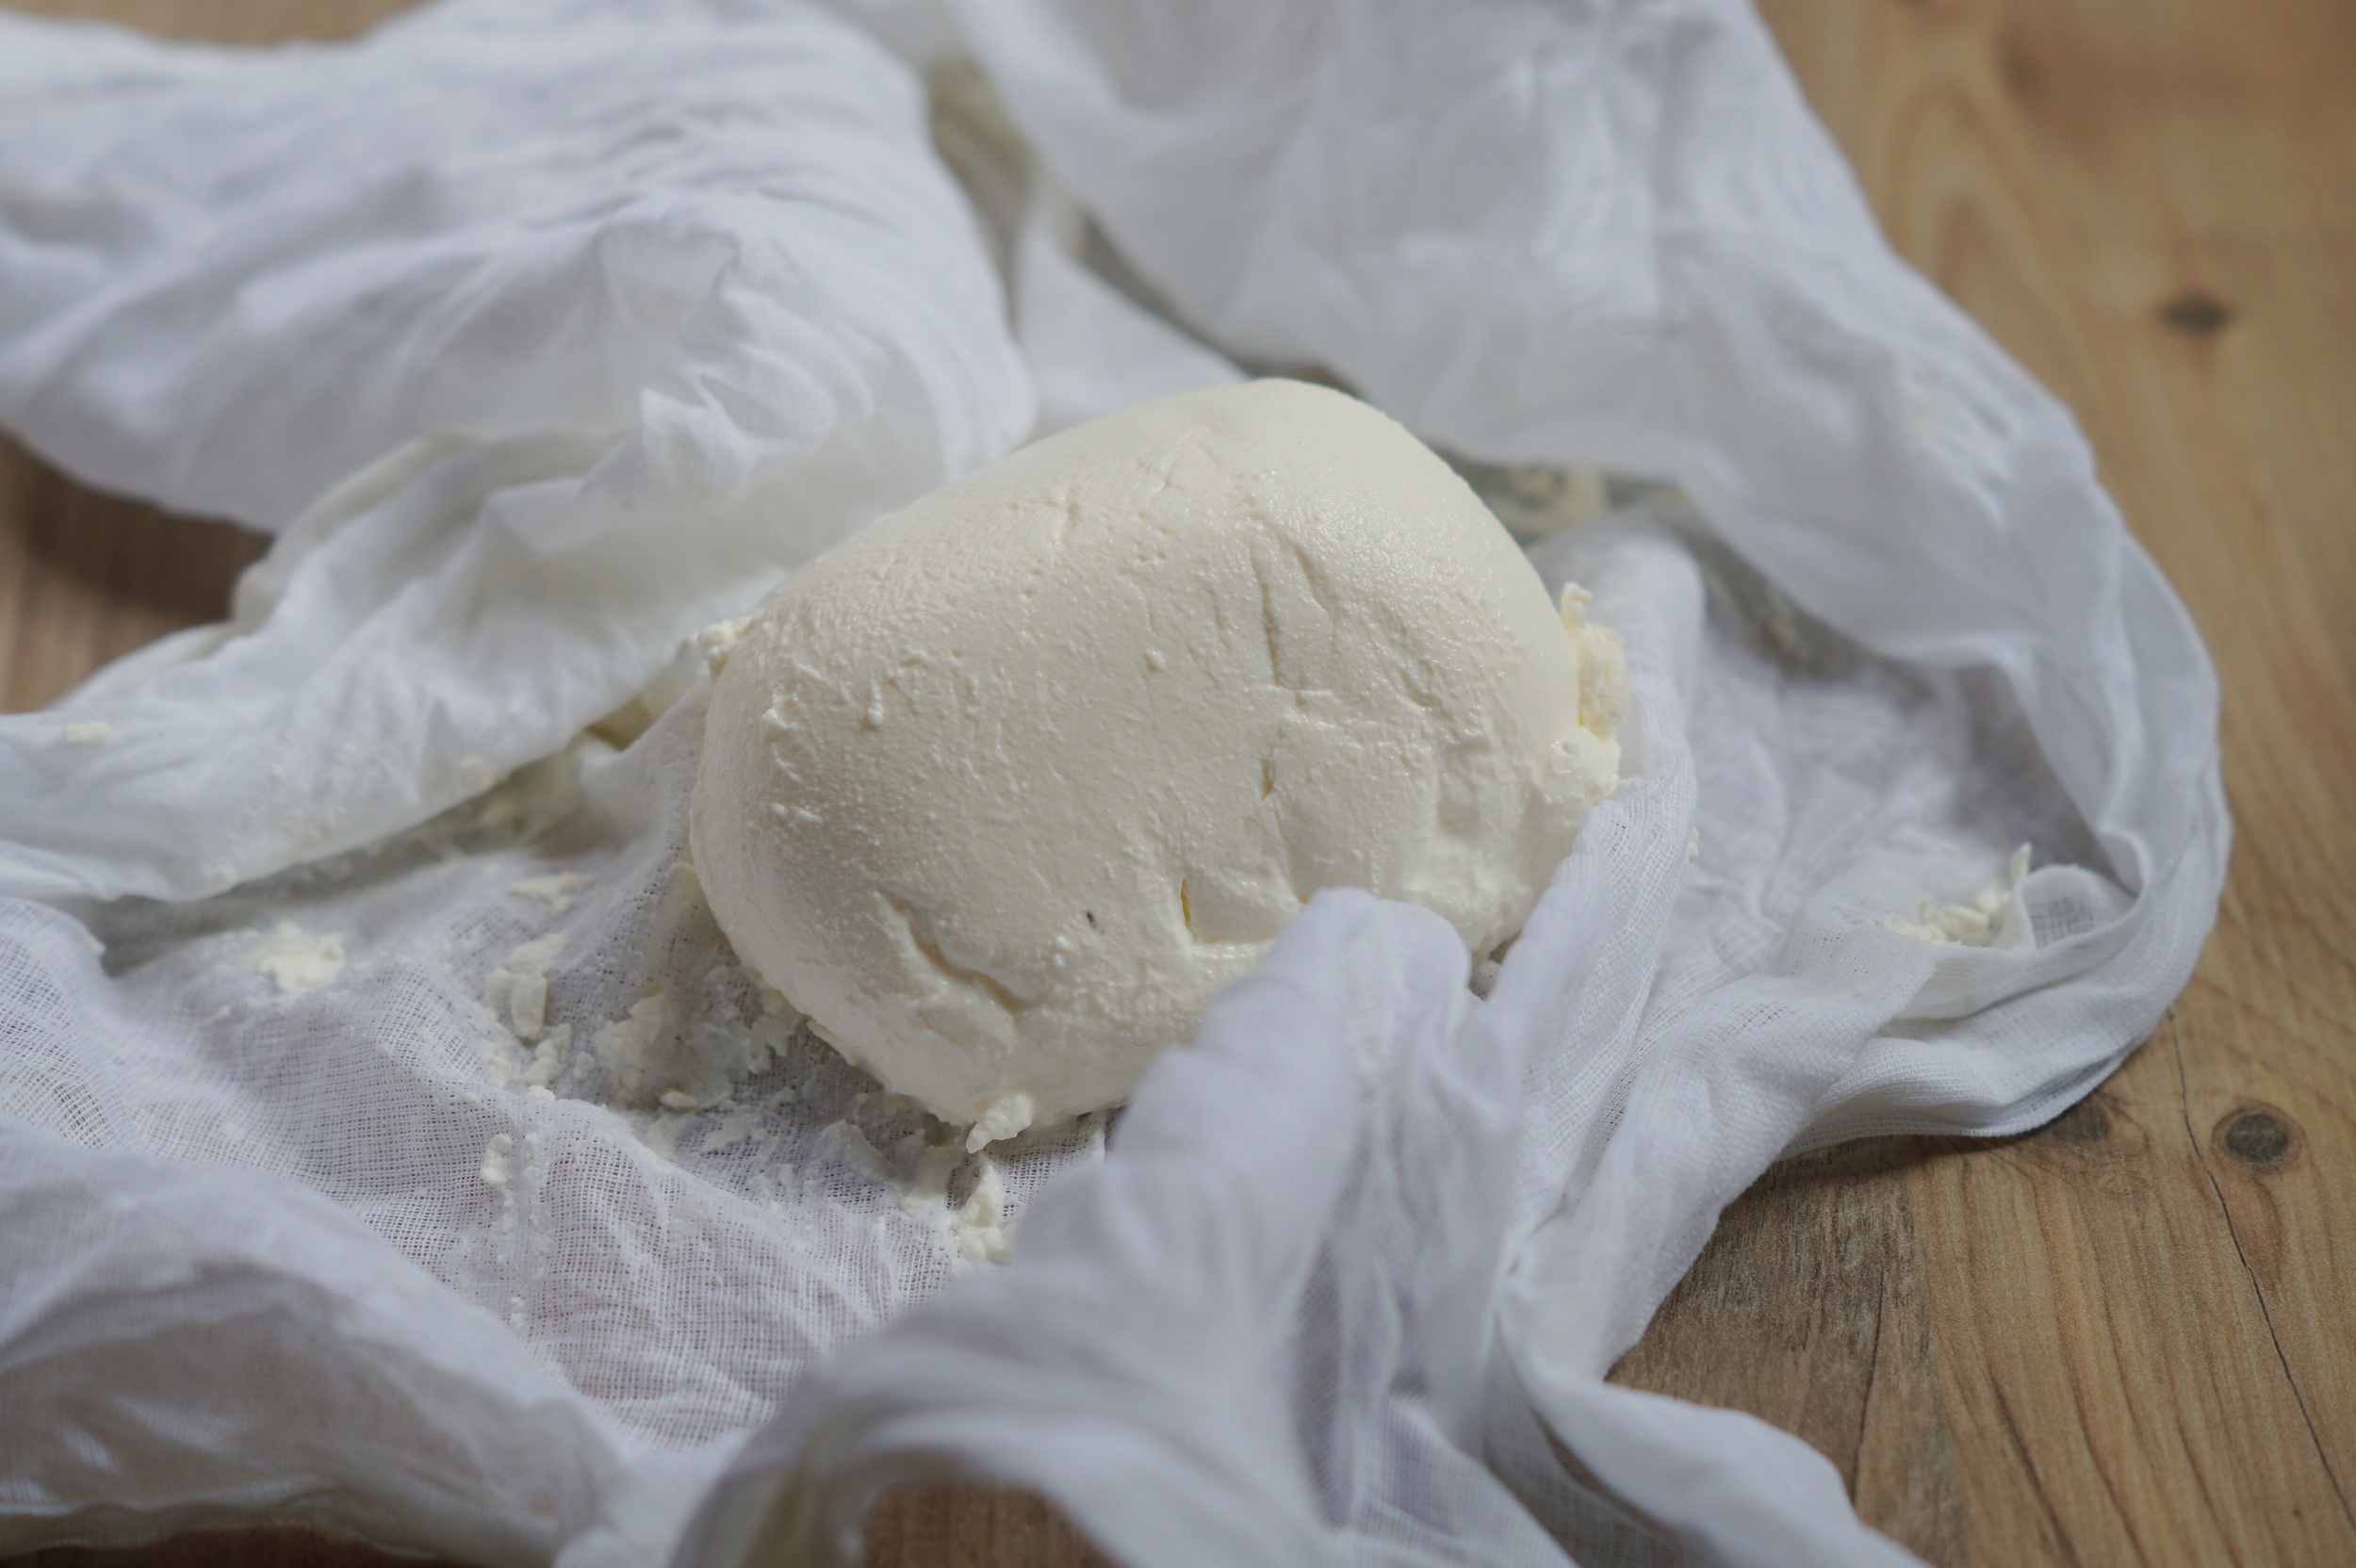
Labneh holds it's origins in the middle east and is created by straining the whey from greek yoghurt. This results in a creamy tangy cheese, texturally it's almost akin to cream cheese but has so much more flavour. Cheesemaking can seem a daunting and highly technical pursuit but this recipe is really very simple, all you need is 2 ingredients, one of which is in fact optional. You also need just a little patience, but the end result is well worth it.

You will need:

  • 500g full fat greek yoghurt
  • A good pinch of salt, around half a tsp (optional)
  • a cheese cloth or jay cloth for straining
  • a wooden spoon and a measuring jug 

Place the yoghurt and salt together in a mixing bowl and stir to combine. Transfer the yoghurt mix into the cheese cloth. Tie up the four corners of the cloth knotting them tightly around the wooden spoon then place the cloth, with spoon attached into the measuring jug, using the wooden spoon to suspend the cloth so the bottom of the straining cheese is a few cm away from the base of the jug. Adjust the tightness of the knotted cheese cloth as necessary to achieve this.

Place the jug into the fridge and allow to strain for 18 to 24 hours, the longer the cheese is left the firmer it will become, go for less time for a creamier texture.

The strained liquid can be used instead of water in the making of a loaf of bread, it will add a creaminess to the finished loaf and create a firmer crust.

Labneh makes an amazing addition to a meze style platter, simply place it into a bowl and drizzle with a little olive oil. I like mine generously slathered over a nice slice of bread, preferably sourdough, and perhaps just a sprinkle of Dukkah just to keep with the middle Eastern theme.

If you are visiting the Melton Mowbray cheese fair this weekend have a great time and hope to see you there!

Homemade labneh